Aoife Carroll
Eat Well. Travel Far<br />est. 2013
  • HOME
    • About
    • Contact
    • Media
  • FOOD
    • Recipe Index
    • Breakfast
    • Mains & Sides
    • Dessert
    • Sweets & Treats
    • Bread
    • Vegan & Paleo
    • A-Z Recipes
  • TRAVEL
    • Sailing The South Pacific
    • Cities >
      • Roma
      • Mallorca
    • Restaurants
    • Hotels
    • Hidden Gems
  • DRINKS
    • Drink Recipes >
      • Drinks
    • Chic Cocktails & Boozy Bars
    • Healthy Juices
  • SOCIAL
  • SUBSCRIBE

Coconut & Almond Ice-cream

6/4/2014

1 Comment


VEGAN, PALEO, GLUTEN FREE & DAIRY FREE 

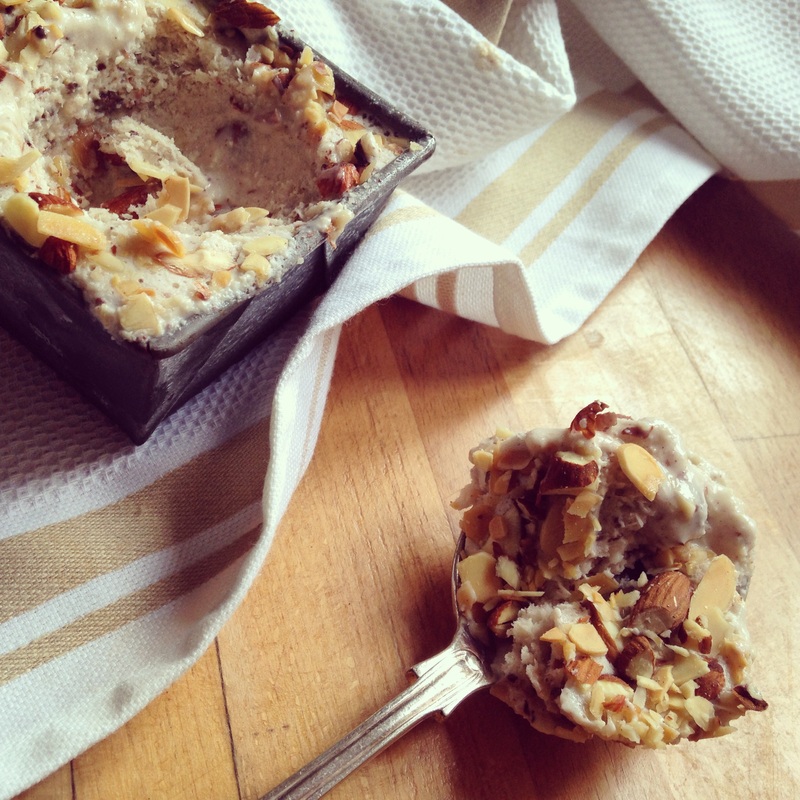
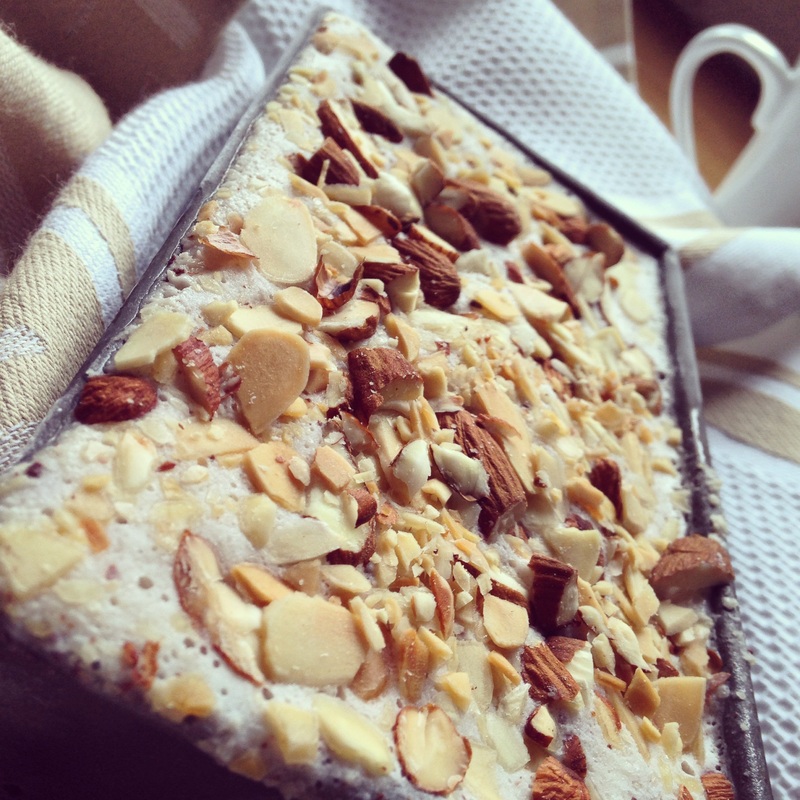
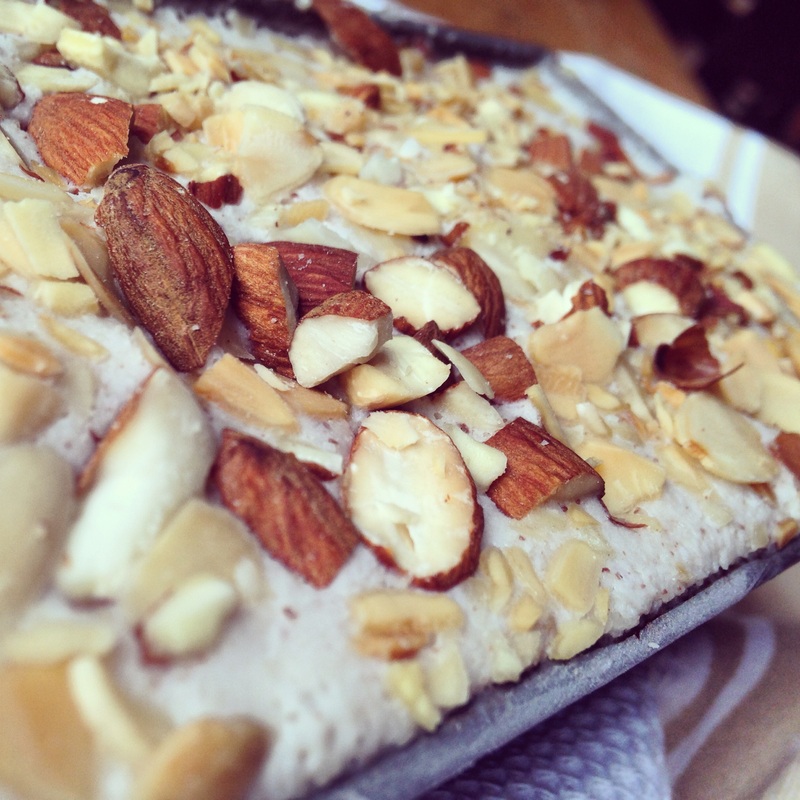
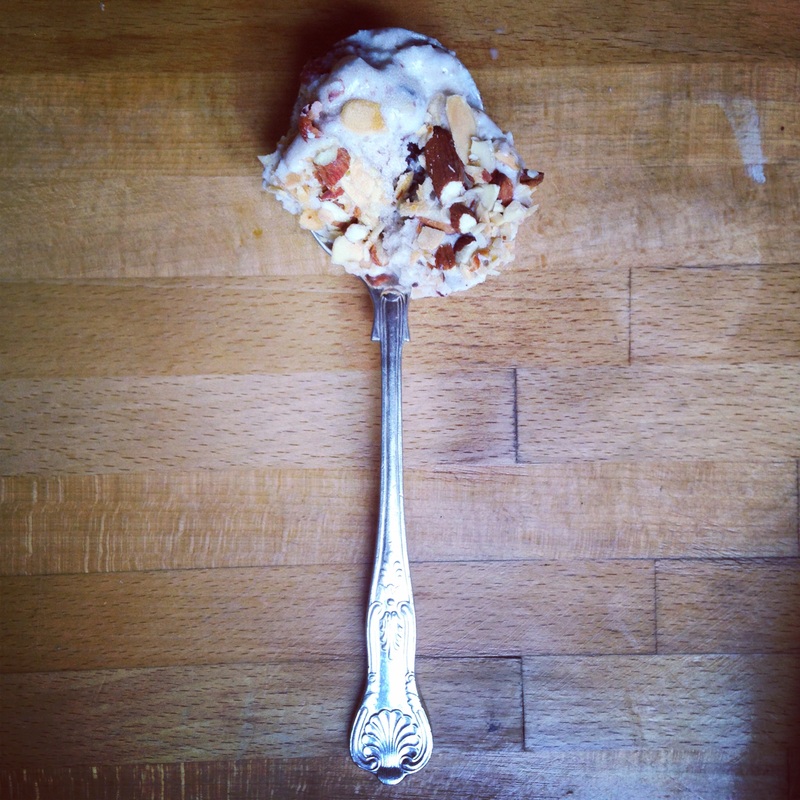
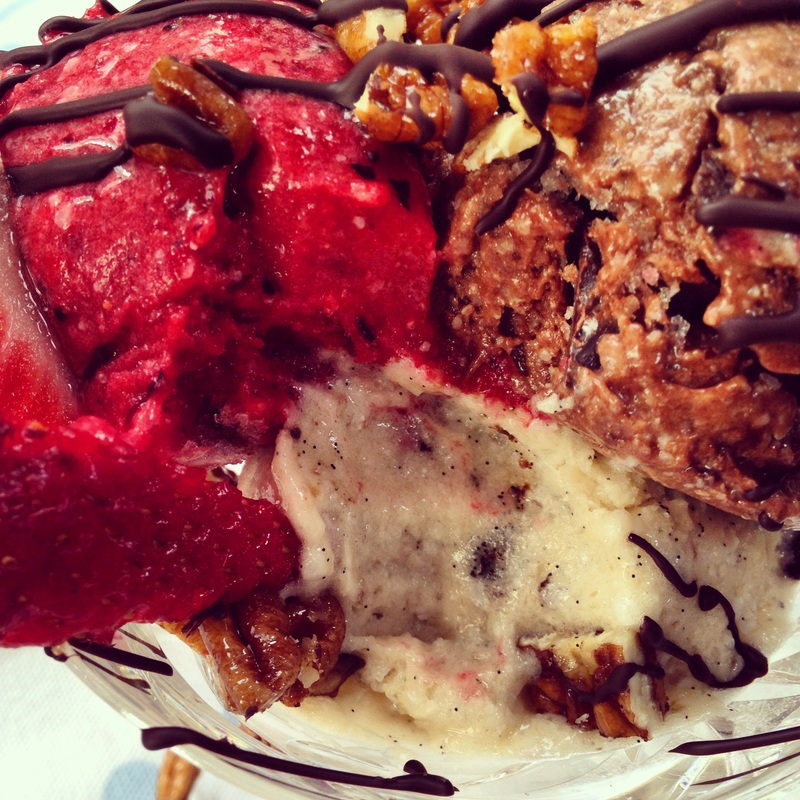
Smooth, creamy, milky coconut ice-cream with crunchy chunks of dark chocolate and toasted almonds, what more could you ask for in a dairy free, gluten free, vegan ice-cream. You will most definitely be coming back for more. As unappetizing as it sounds, almond 'mush' that goes into this ice-cream is definitely what makes it, the dense mixture adds a body and texture to this scrumptious ice-cream.
Picture
Picture
Picture

INGREDIENTS

What you will need
1 can coconut milk
1/2 cup boiling water
3/4 cup almonds
1/4 cup diced almonds
1 tsp vanilla extract
2 tbs raw maple syrup or agave syrup
40g 85% dark chocolate

METHOD

Picture
Picture
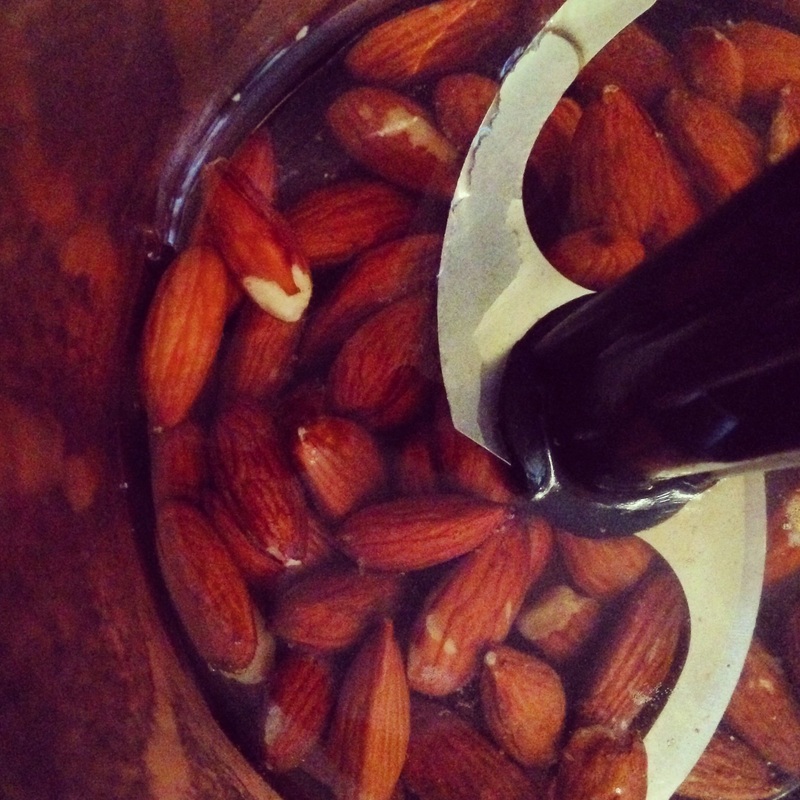
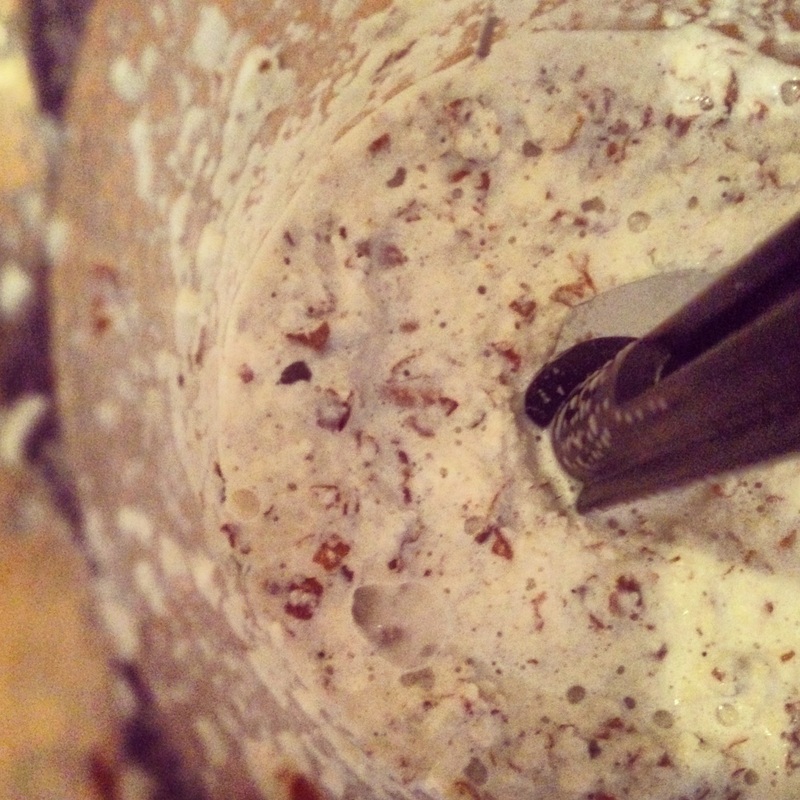
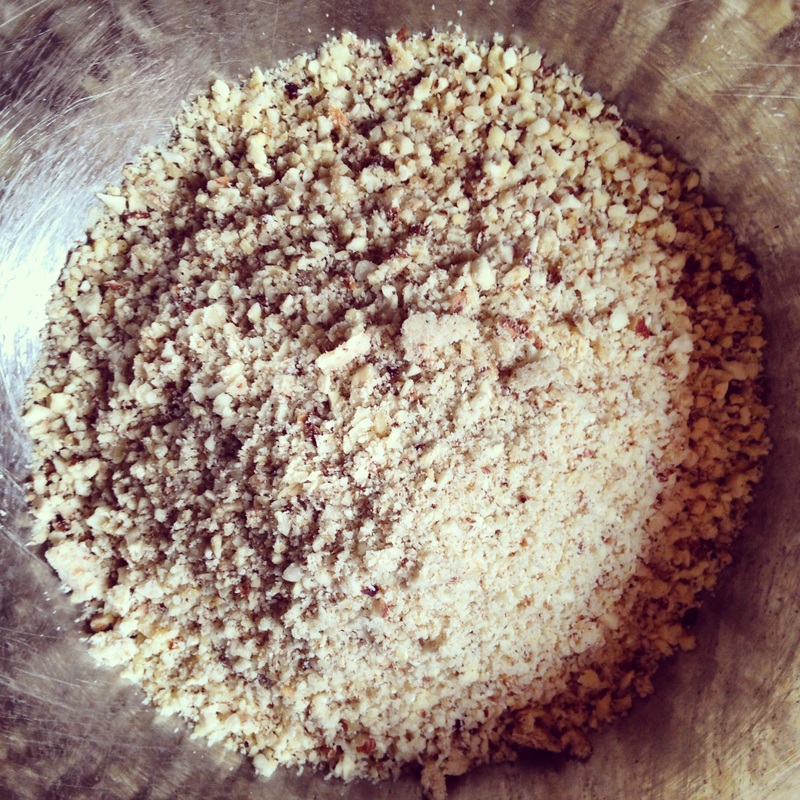
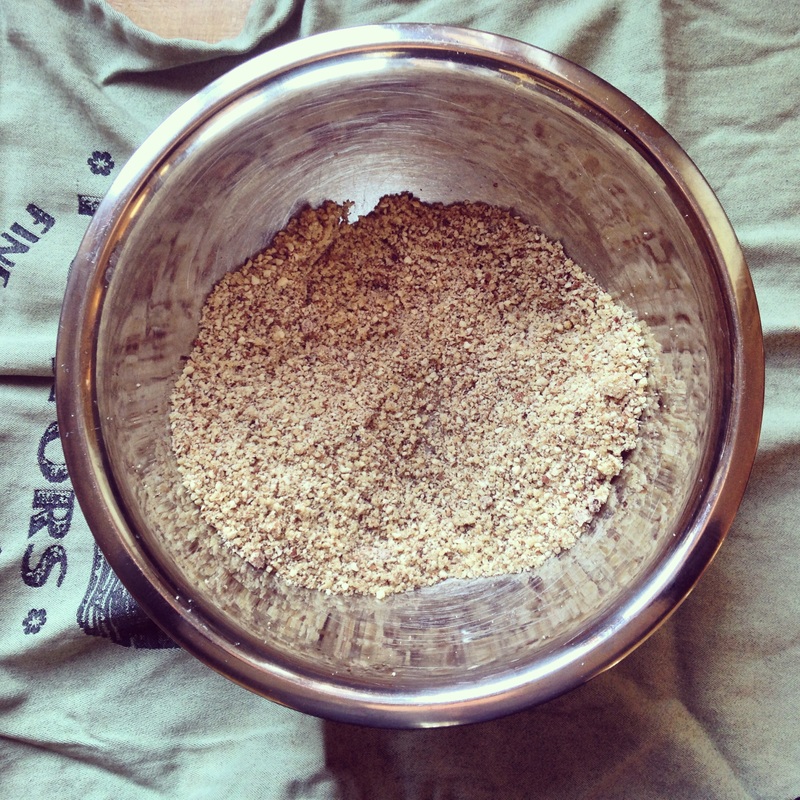
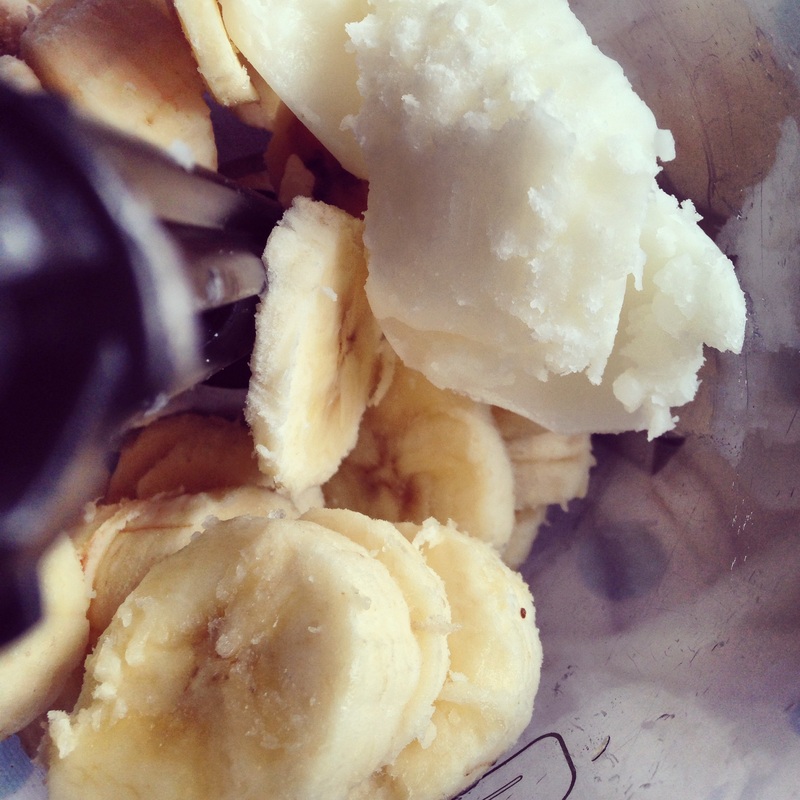
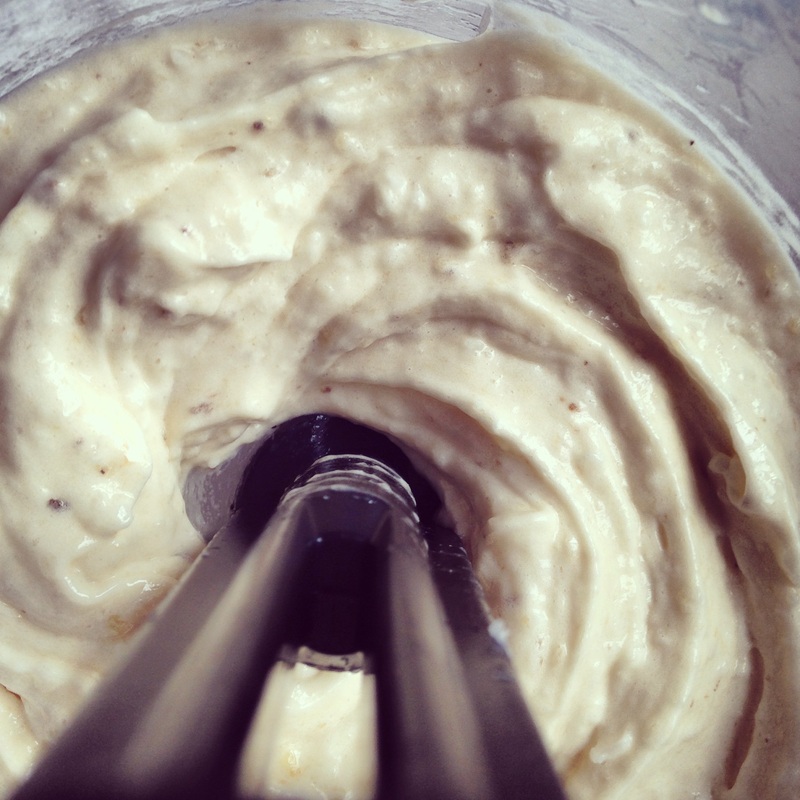
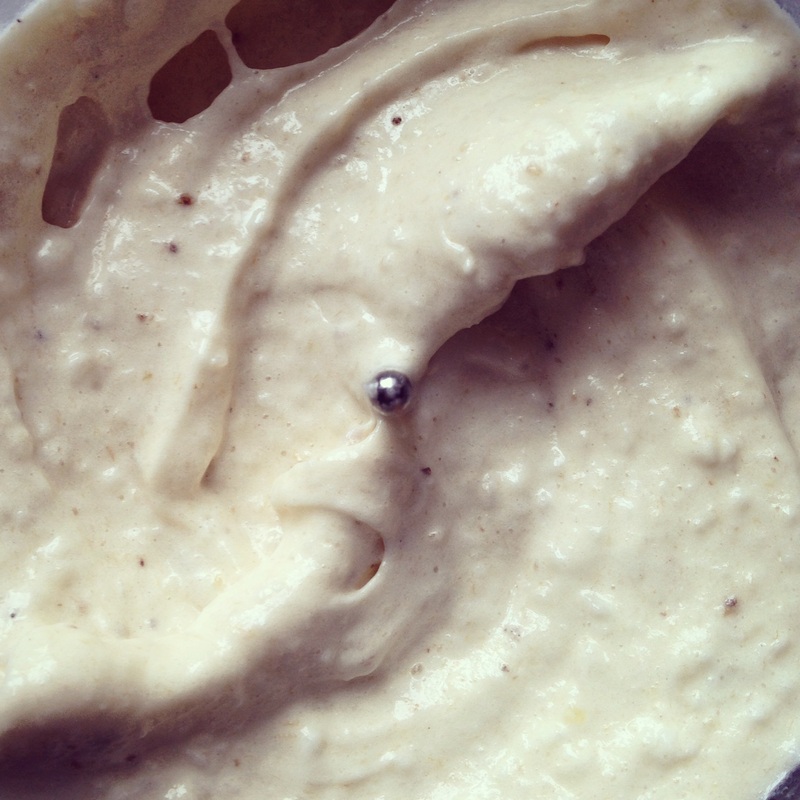
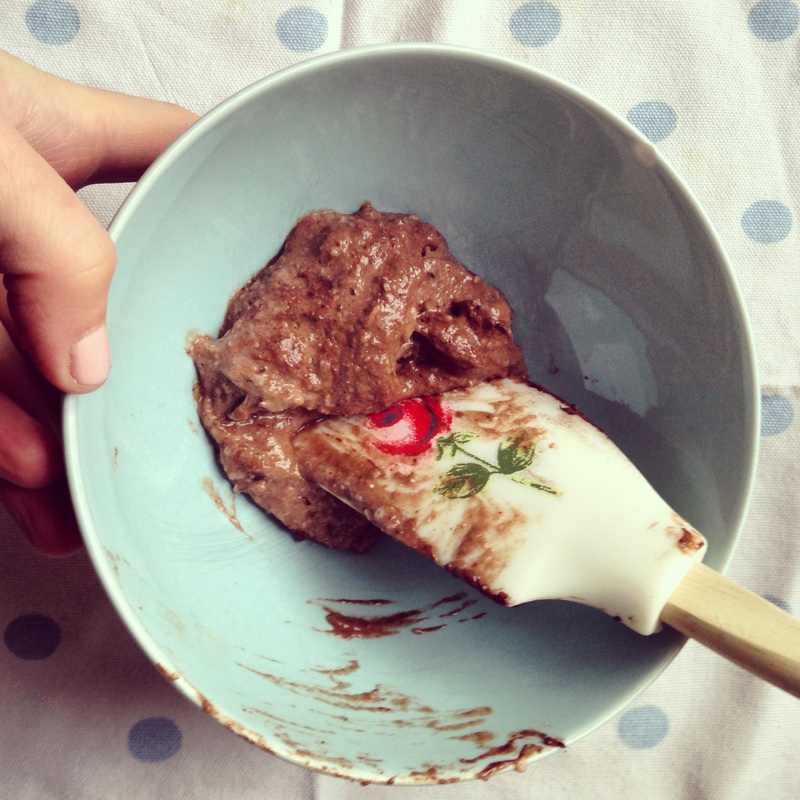
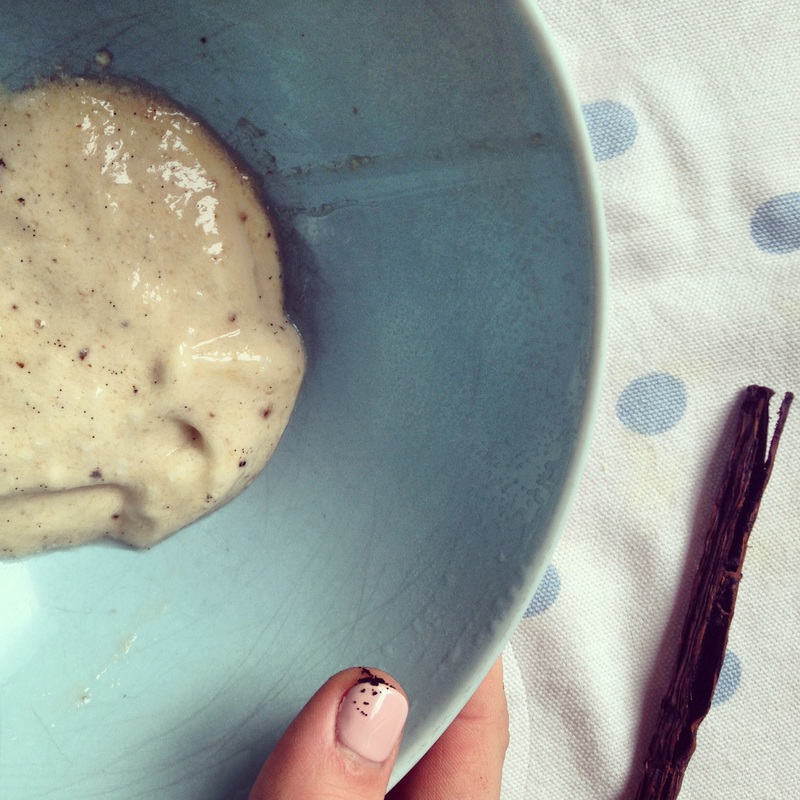
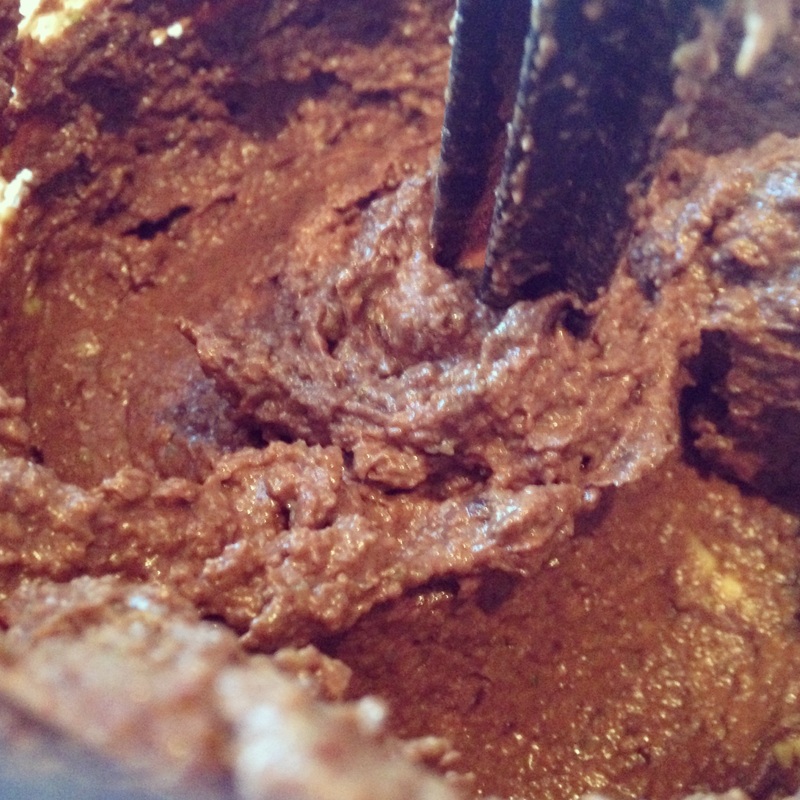
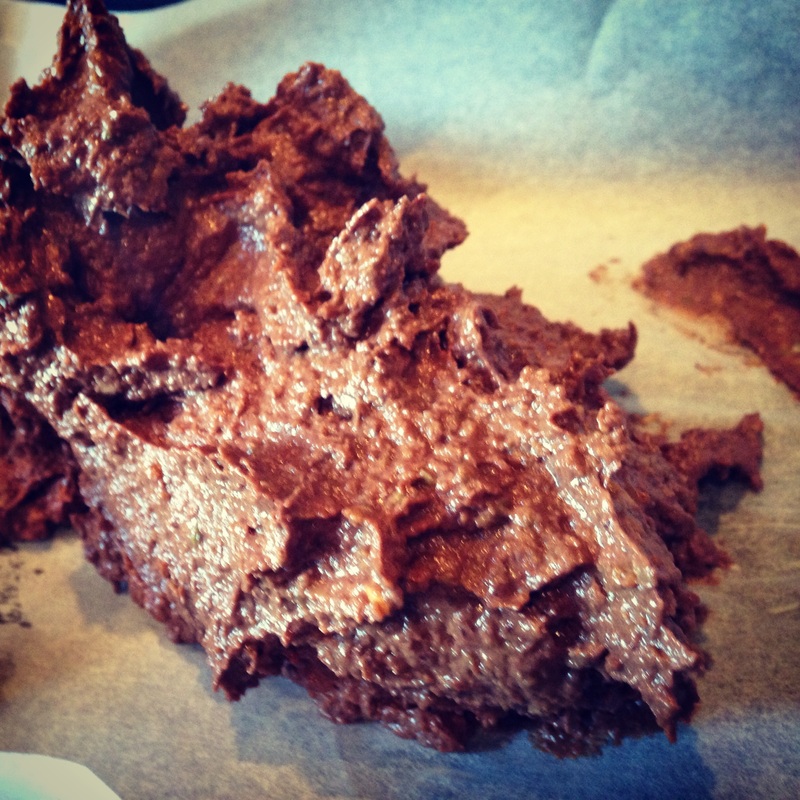
Start off by add 1/2 cup of the almonds with 1/2 cup of boiling water to a blender. Be careful, the water does tend to go everywhere. Blitz until you have a thick almondy mush. 
In a sauce pan add the tin of coconut milk and cook over a medium heat. Add the almond 'mush' to the coconut milk and continue to cook.
Bring to the boil, stirring constantly. 
Add the vanilla extract and maple syrup and continue to stir. Allow to boil for 10 minutes, until the mixture is slightly reduced.
Picture
Picture
Picture
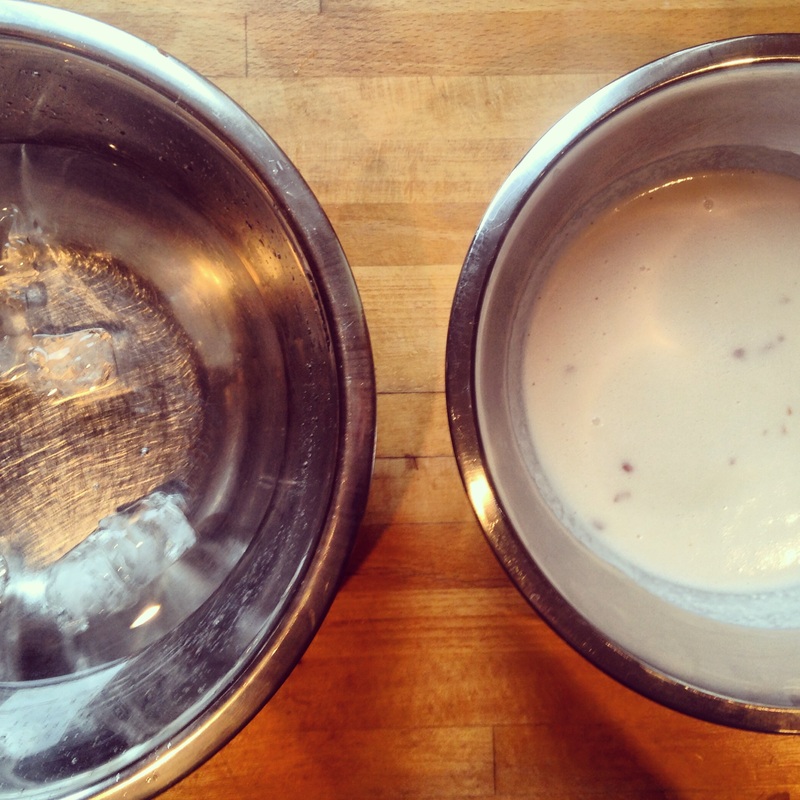
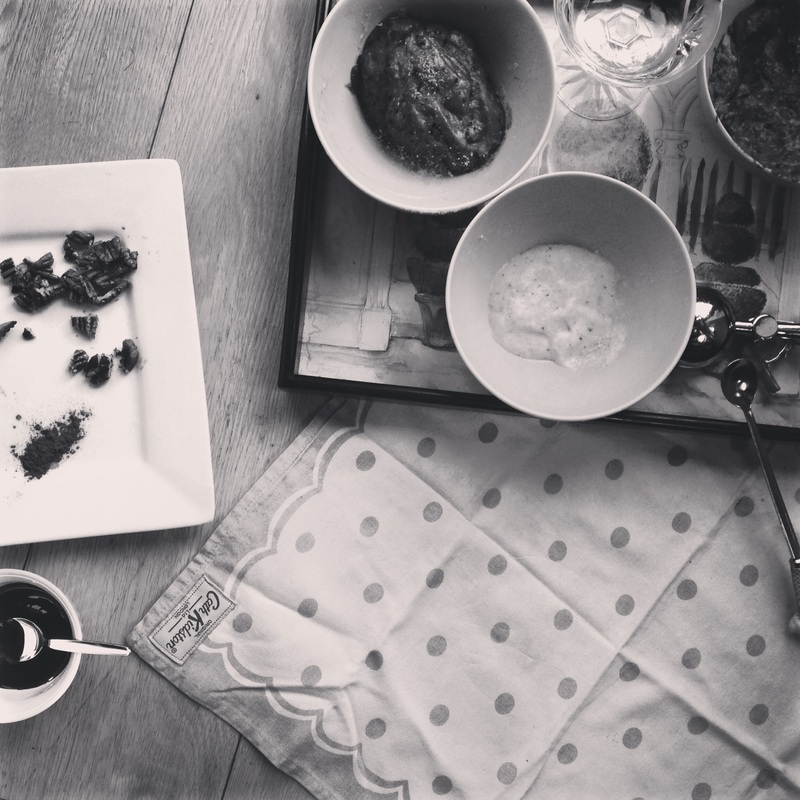
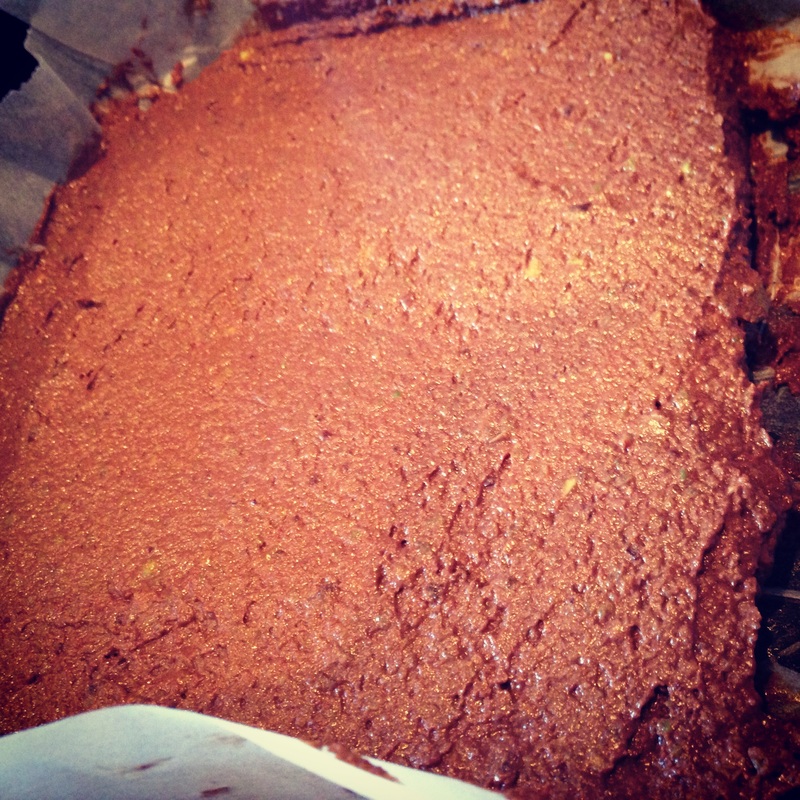
Pour the almond and coconut mixture into a large bowl, the more surface area the better as it will speed up the cooling down process. I made an ice bath in a larger bowl so that the coconut mixture could sit in it.
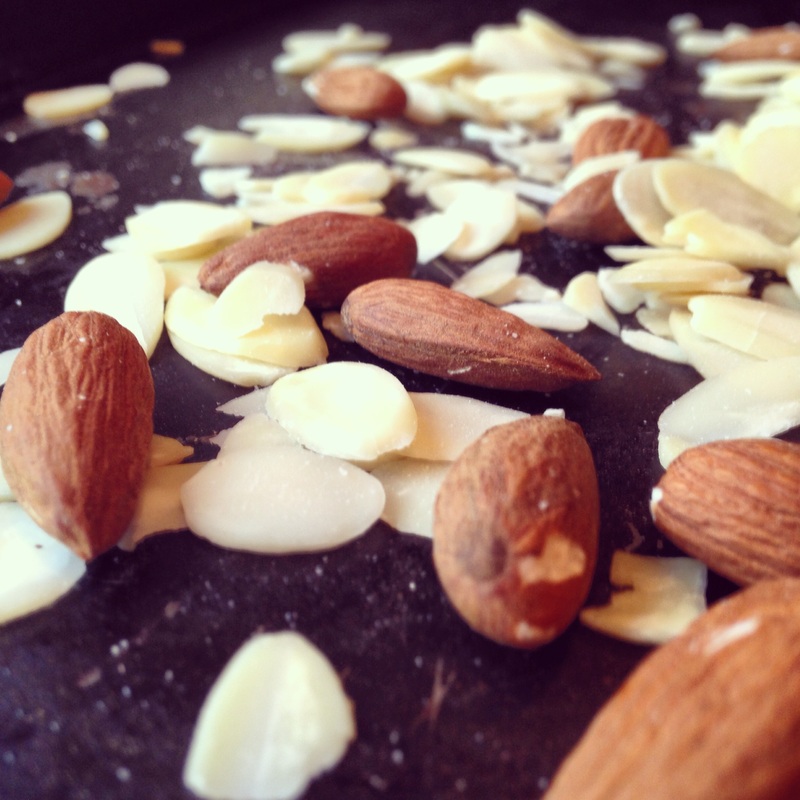
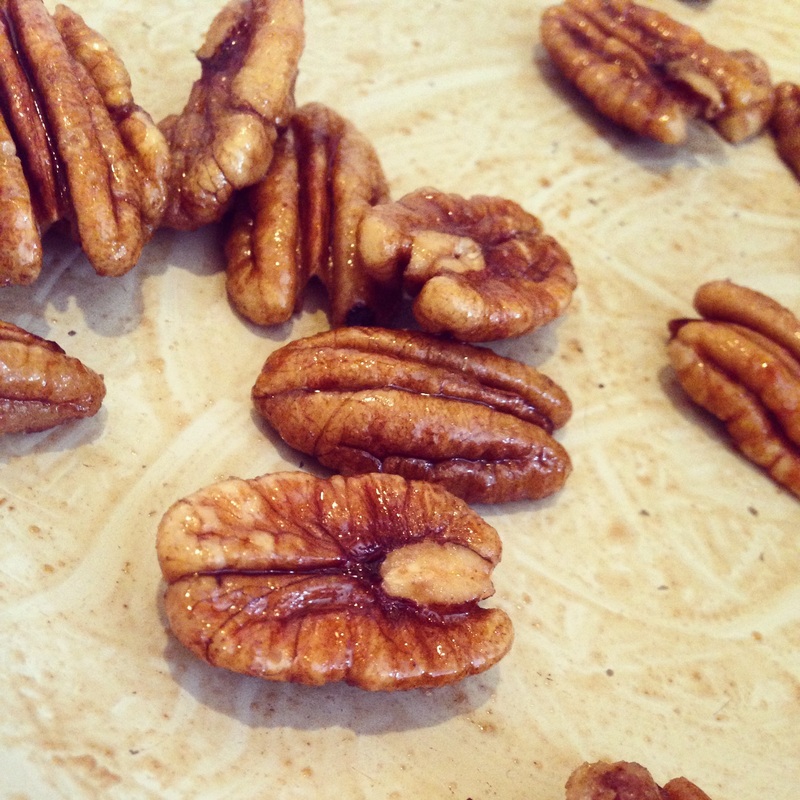
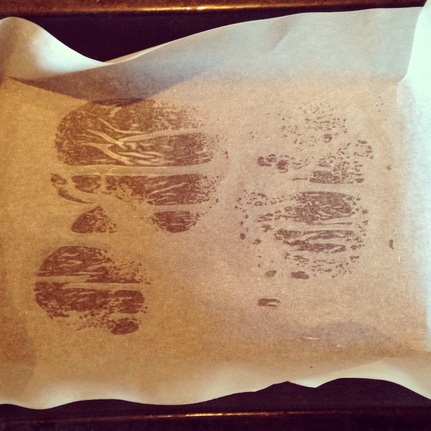
Pre heat the oven to 180 degrees celsius and spread the rest of the almonds and sliced almonds on a baking tray. Roast the nuts in the oven for 10 minutes, until golden brown and aromatic. 
Allow to cool to room temperature also.
Picture
Picture
Picture
Picture
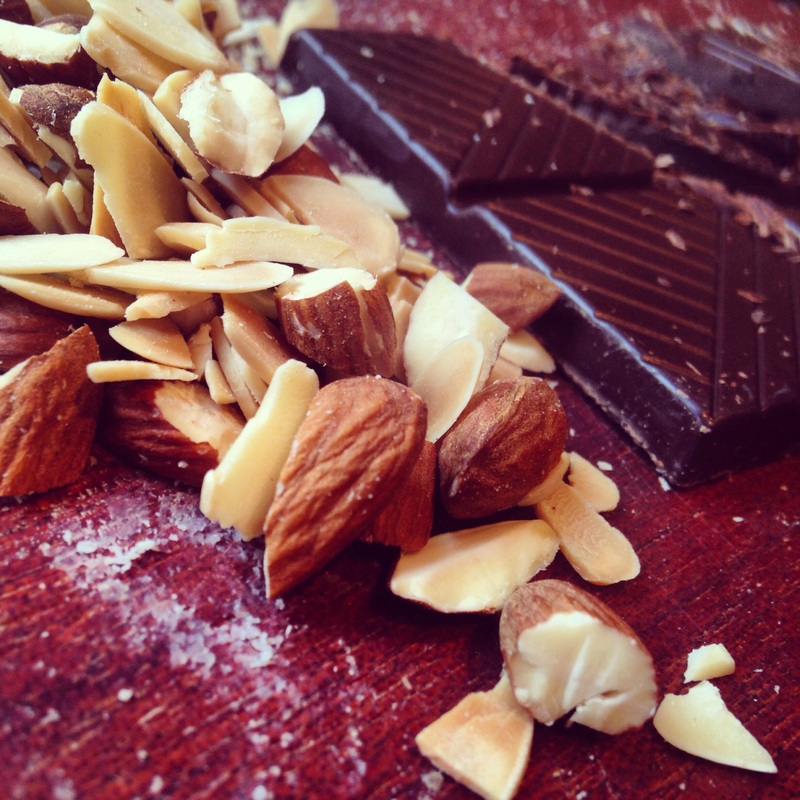
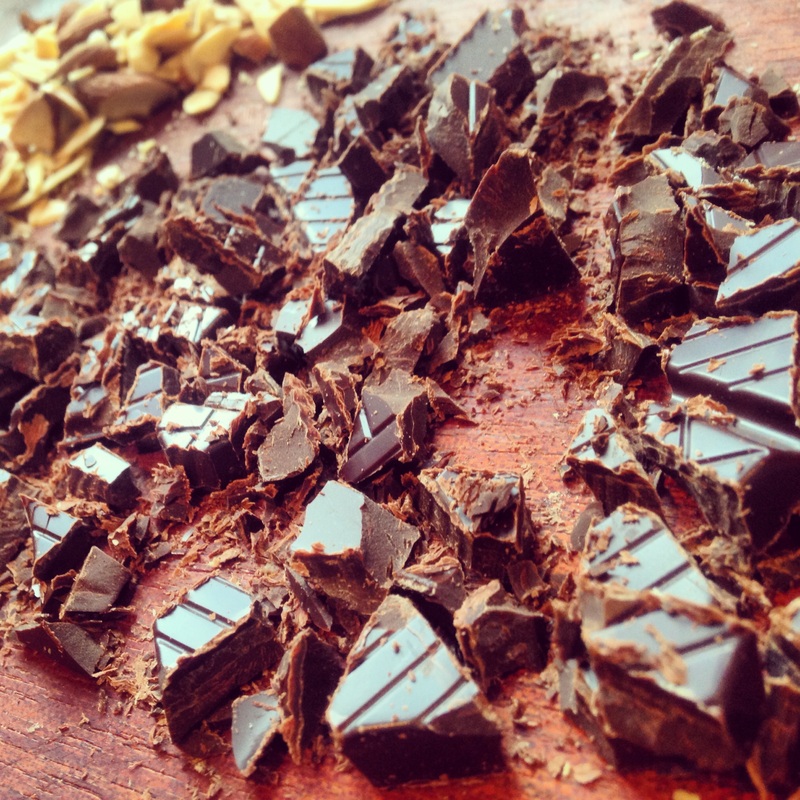
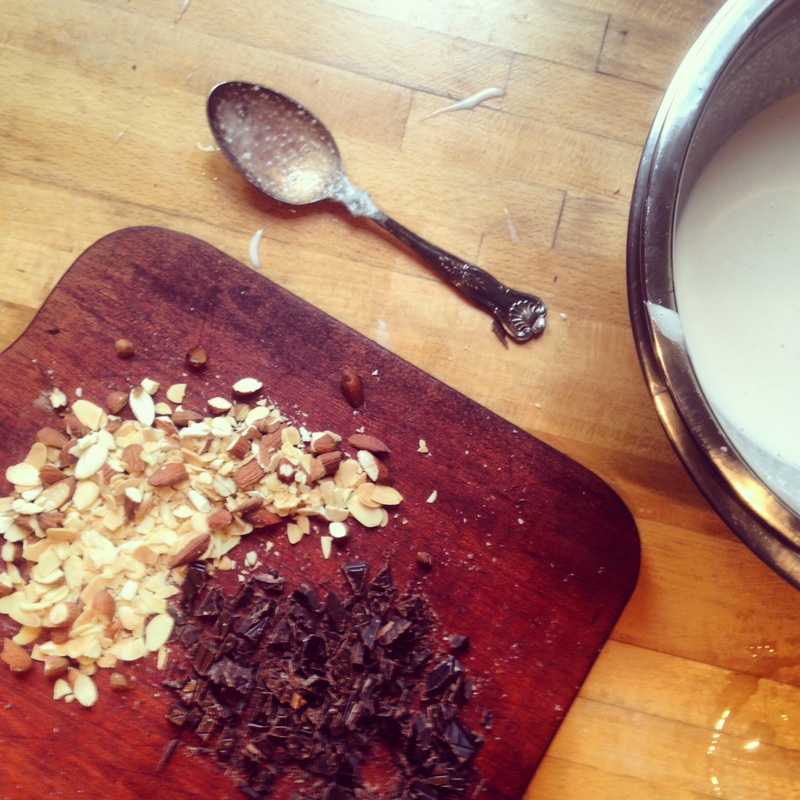
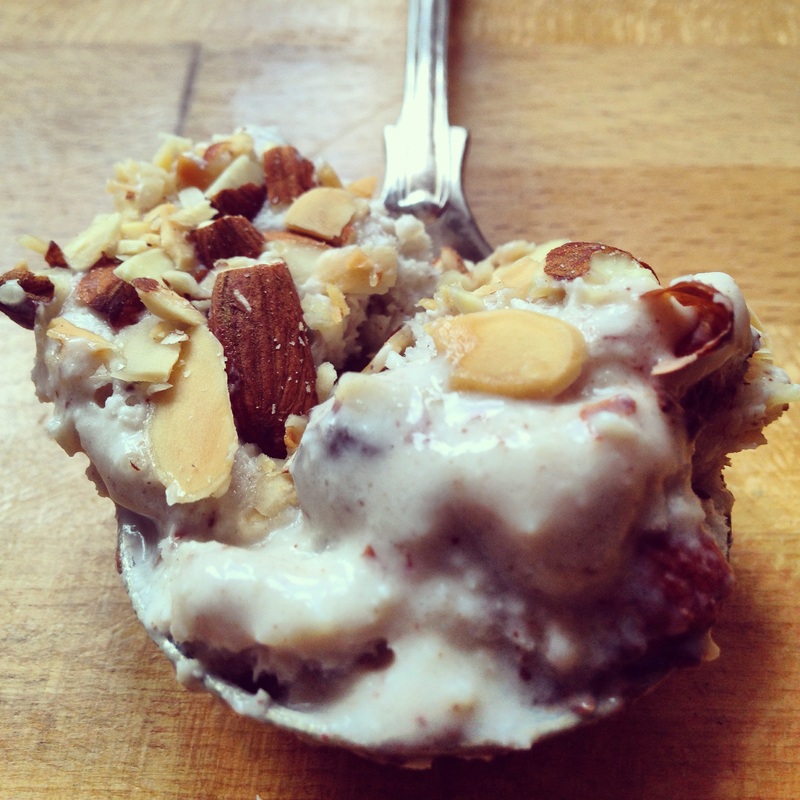
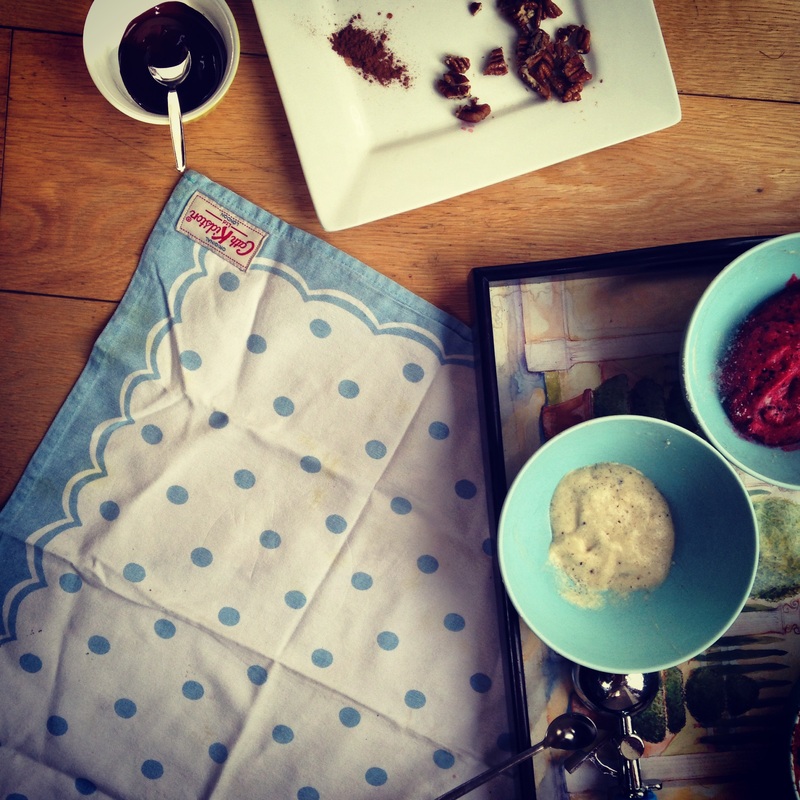
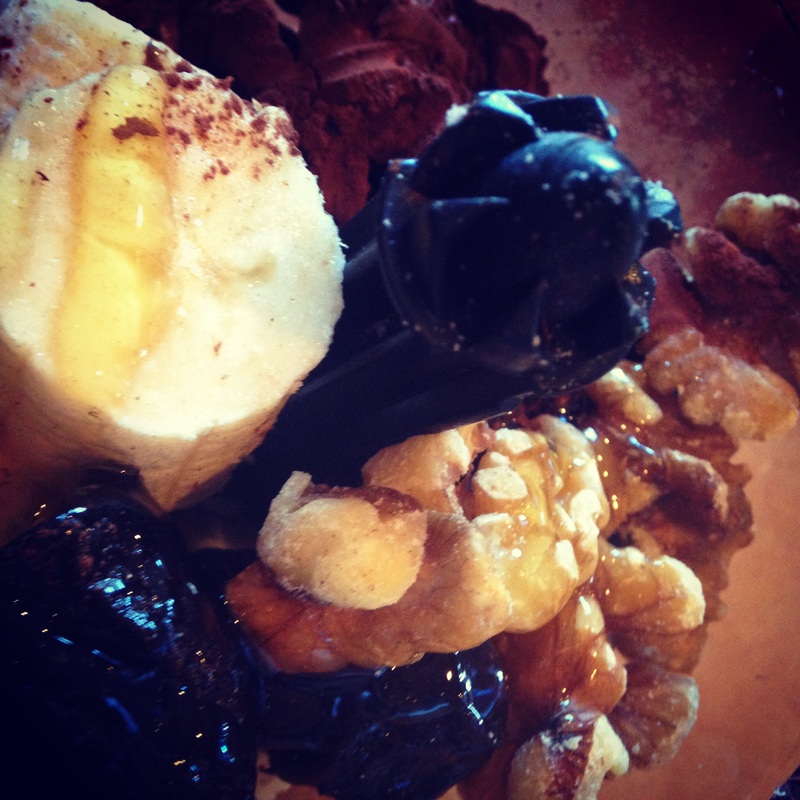
When the coconut mixture has cooled to room temperate roughly chop the almonds and dark chocolate, add most of these to the coconut mixture leaving just under half of them to sprinkle on top of the ice-cream. 
Place in the freezer.
If you don't have an ice-cream maker, every 30 minutes take the mixture out and stir. The mixture will start to freeze from the outside in, so when stirring make sure you remove all the bits that have begun to solidify from the edges of the bowl. Place back in the freezer and repeat this process until you have a thicker, smoother consistency.
Picture
Picture
Picture
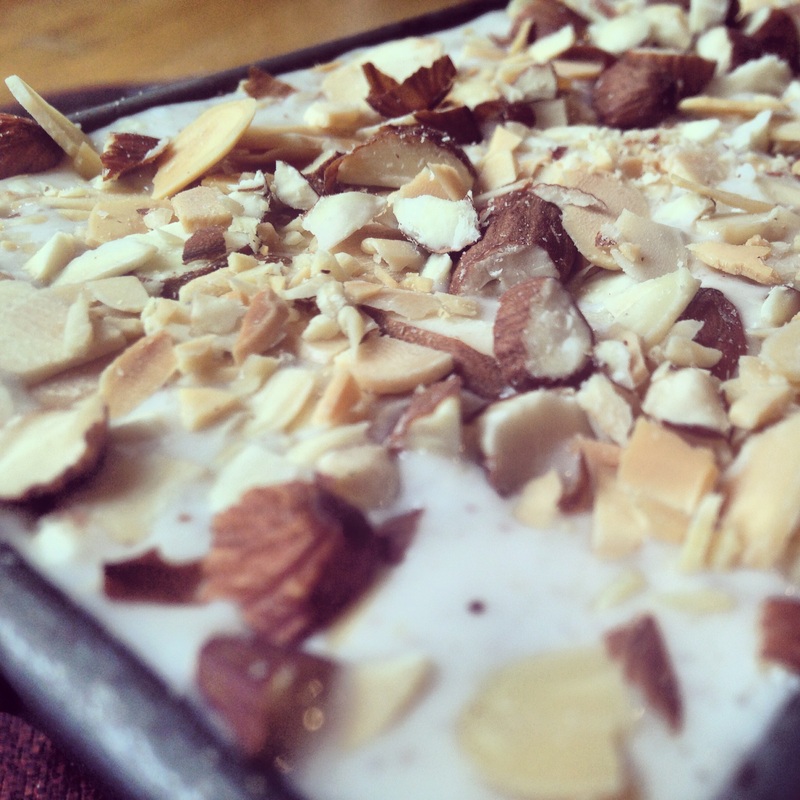
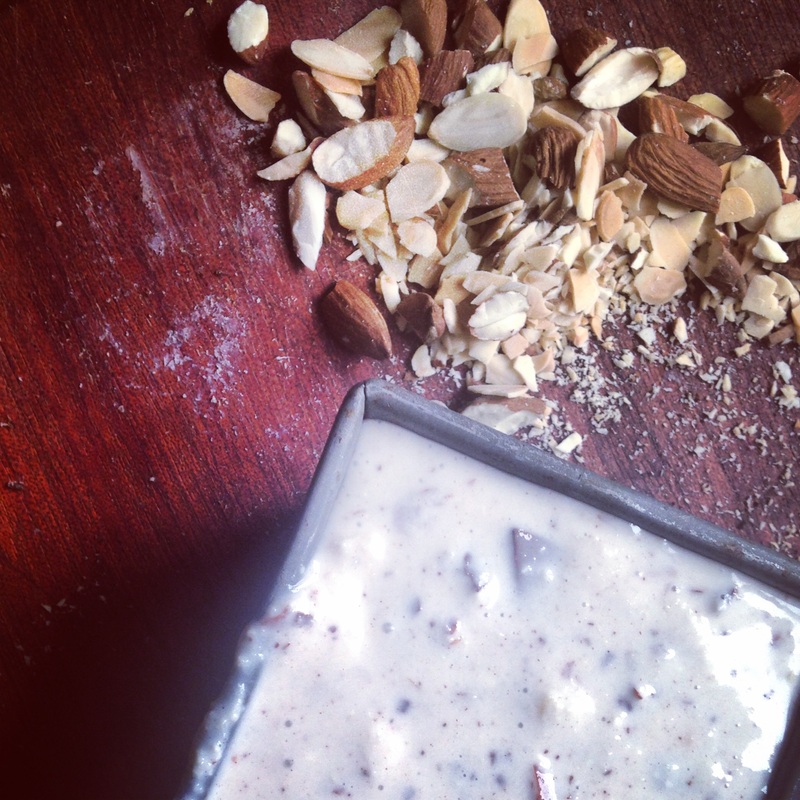
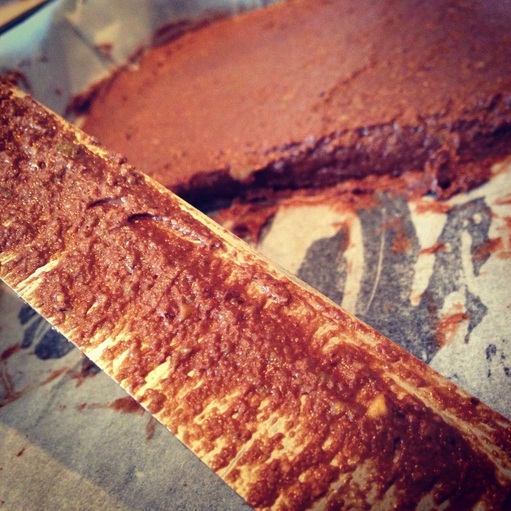
After about 1 1/2 hours (3 stirs), pour the mixture into the container that you wish to keep your ice-cream in, and leave to freeze until solid for at least 2 hours

Picture
Picture
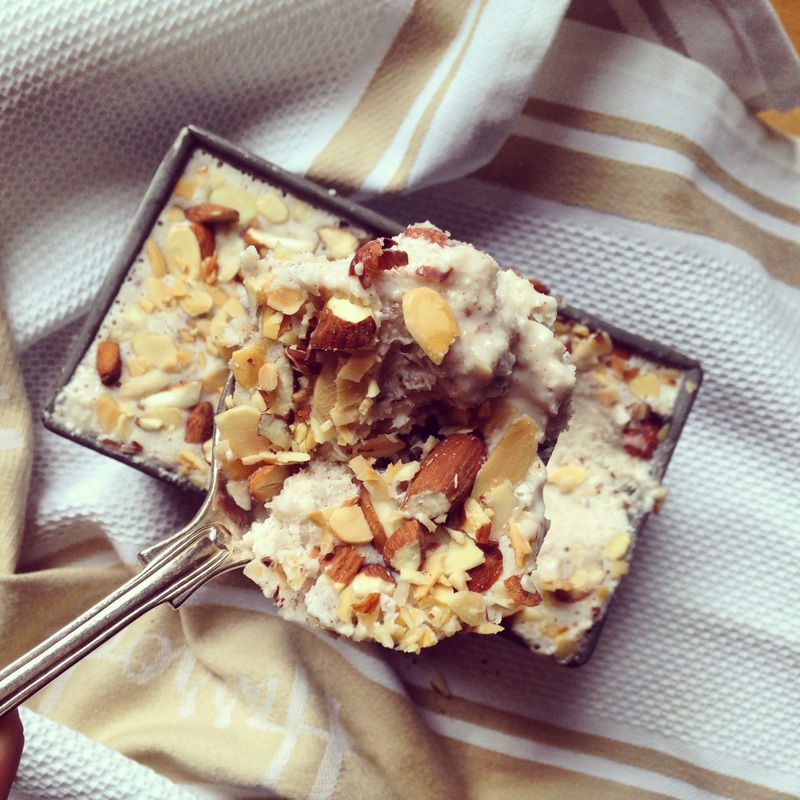
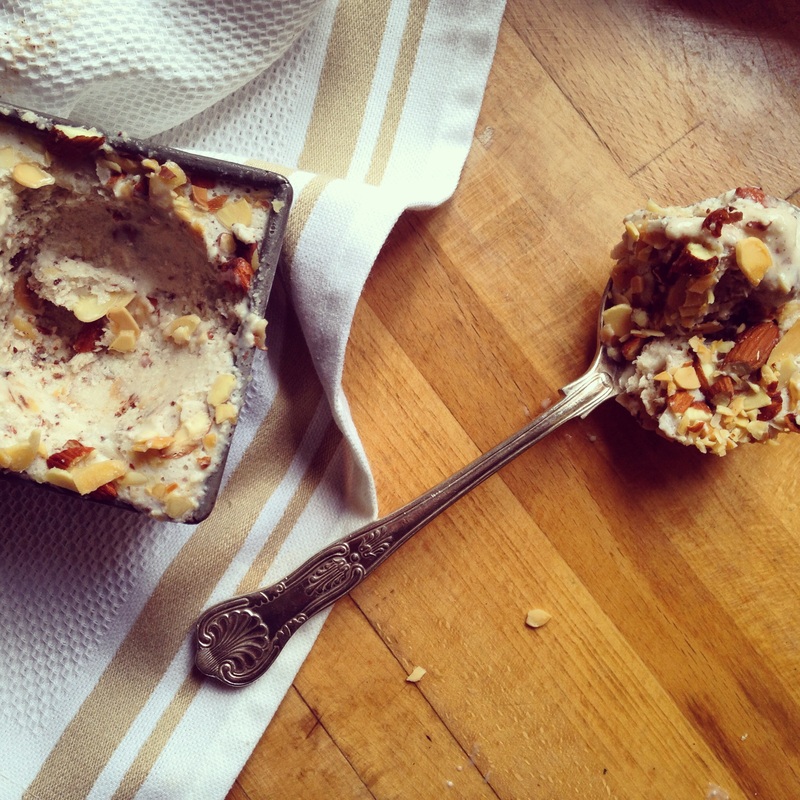
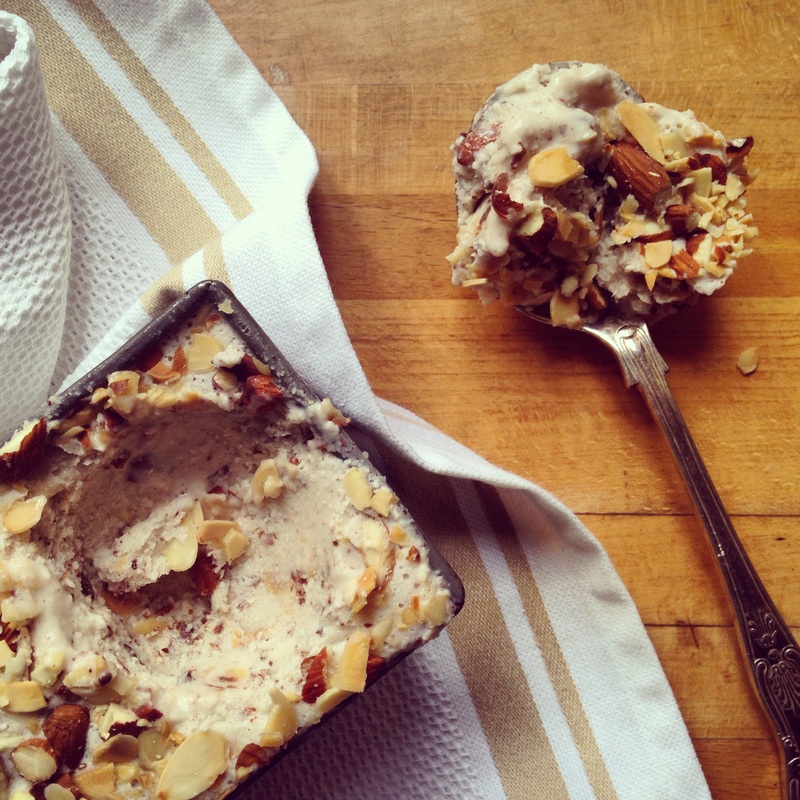
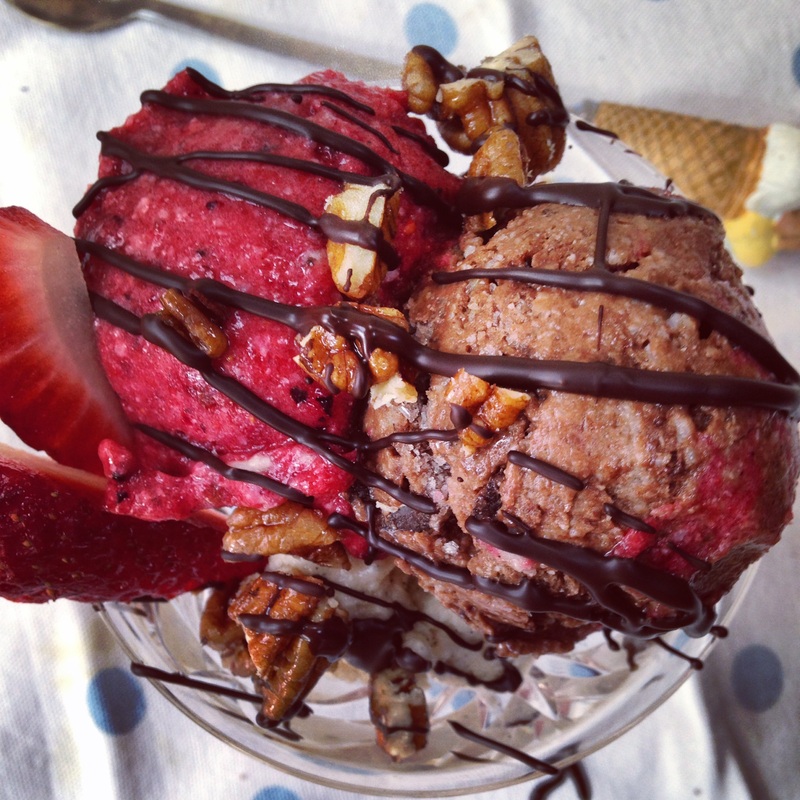
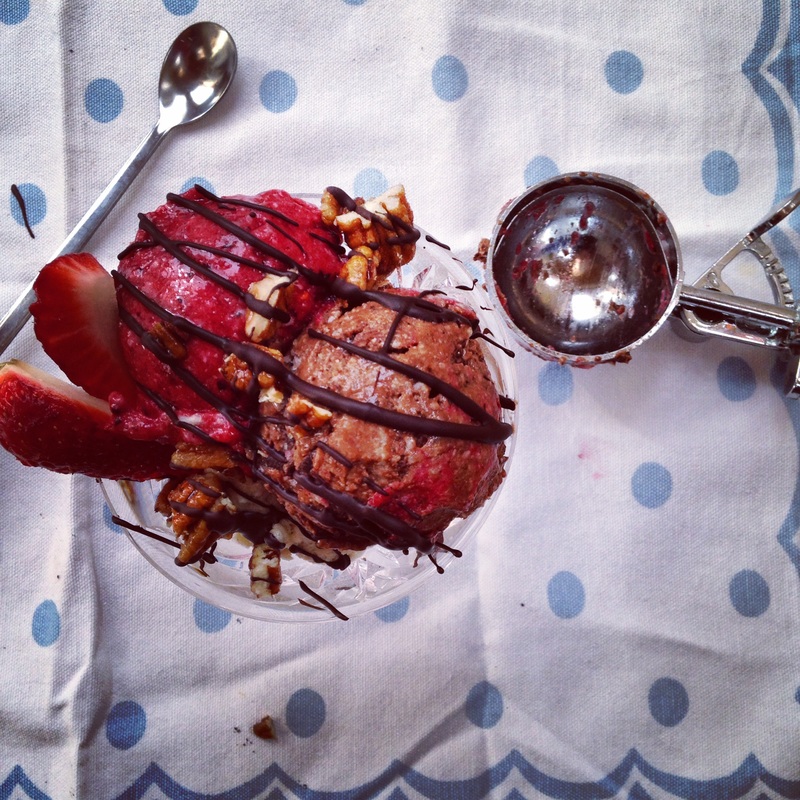
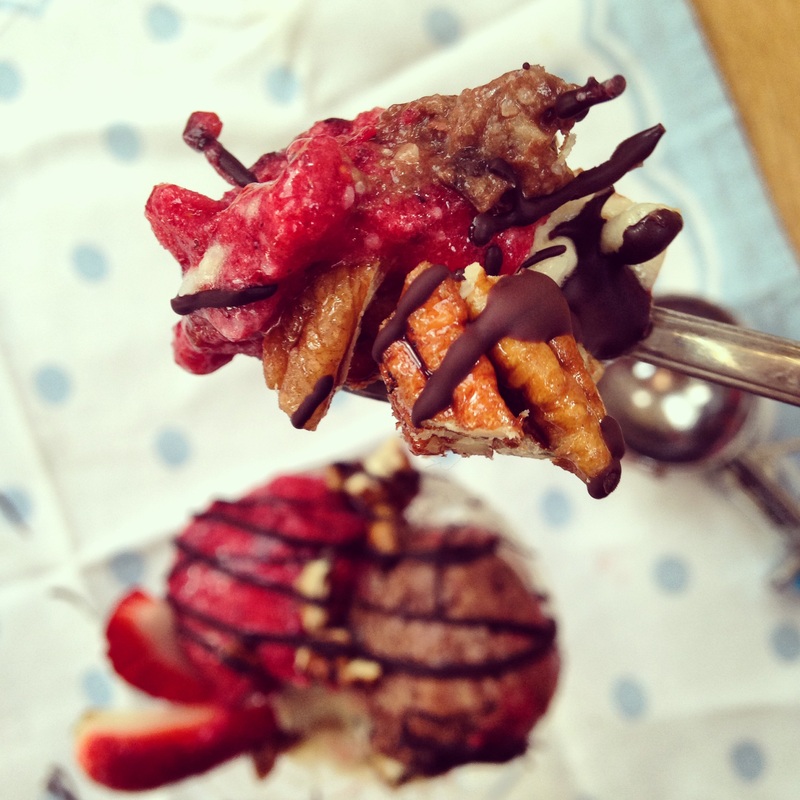
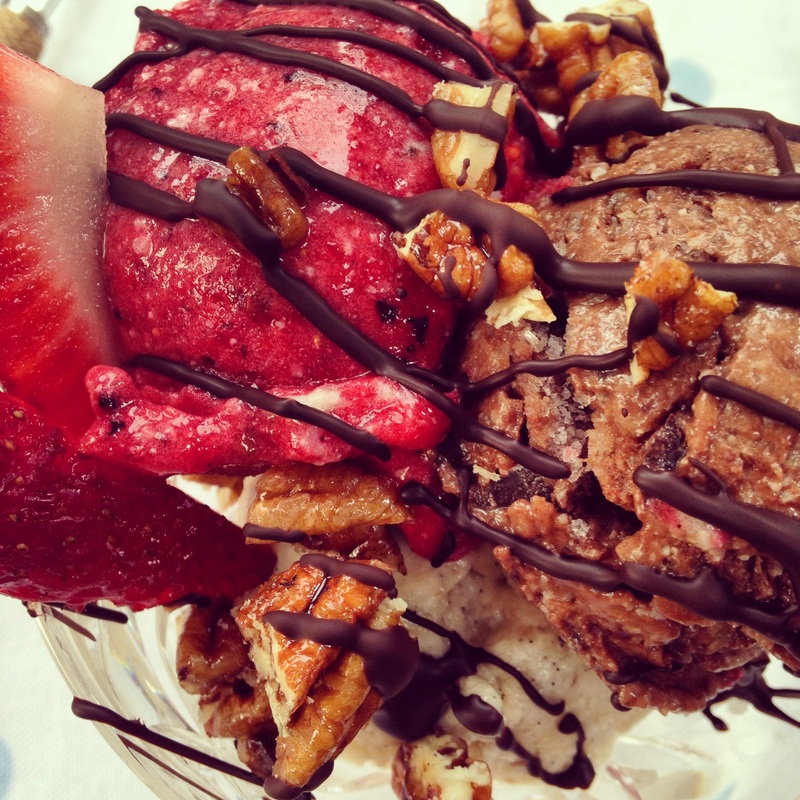
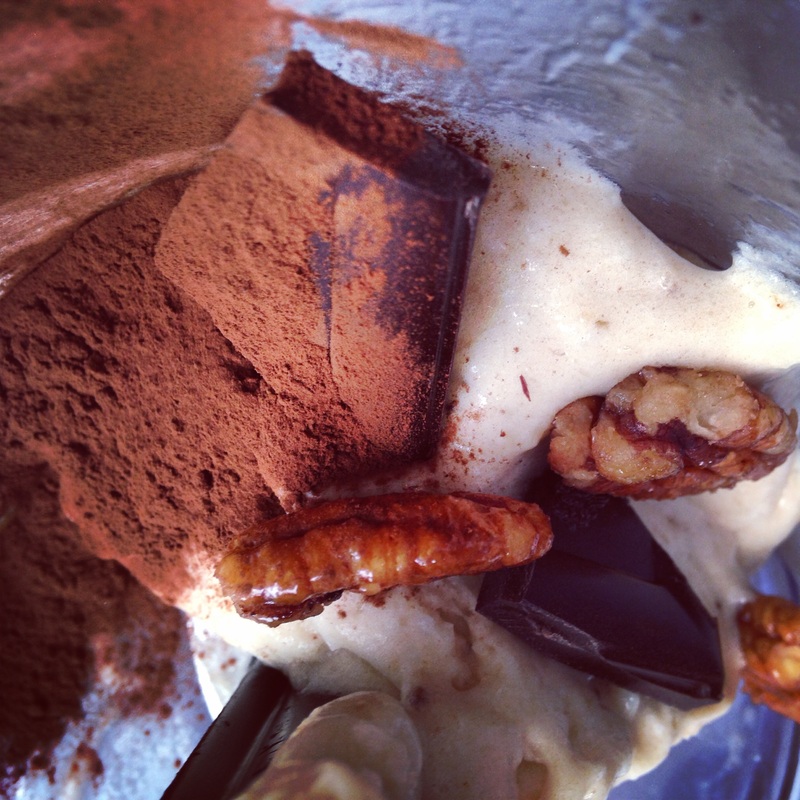
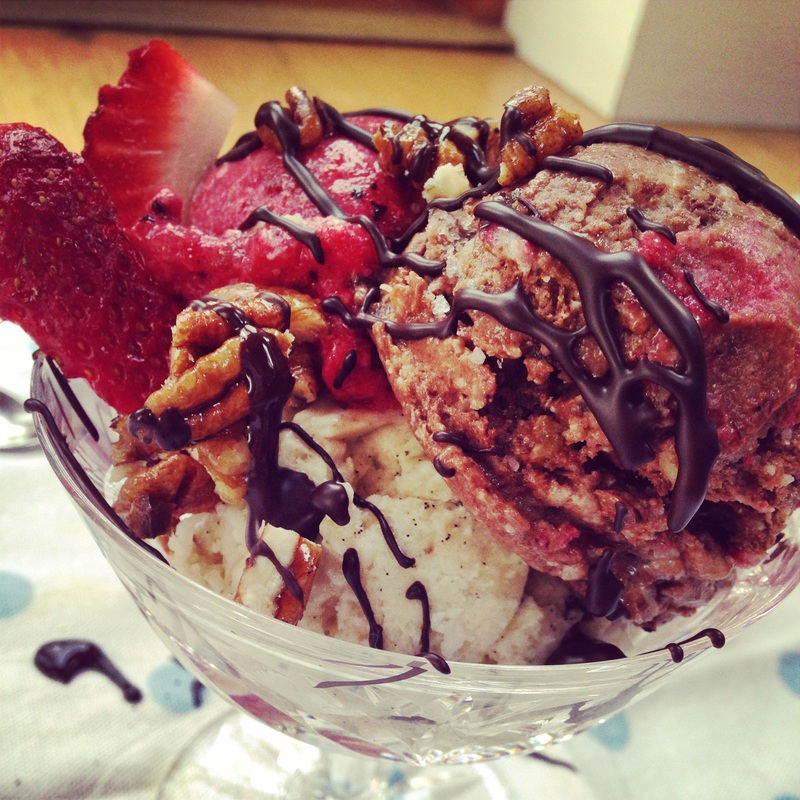
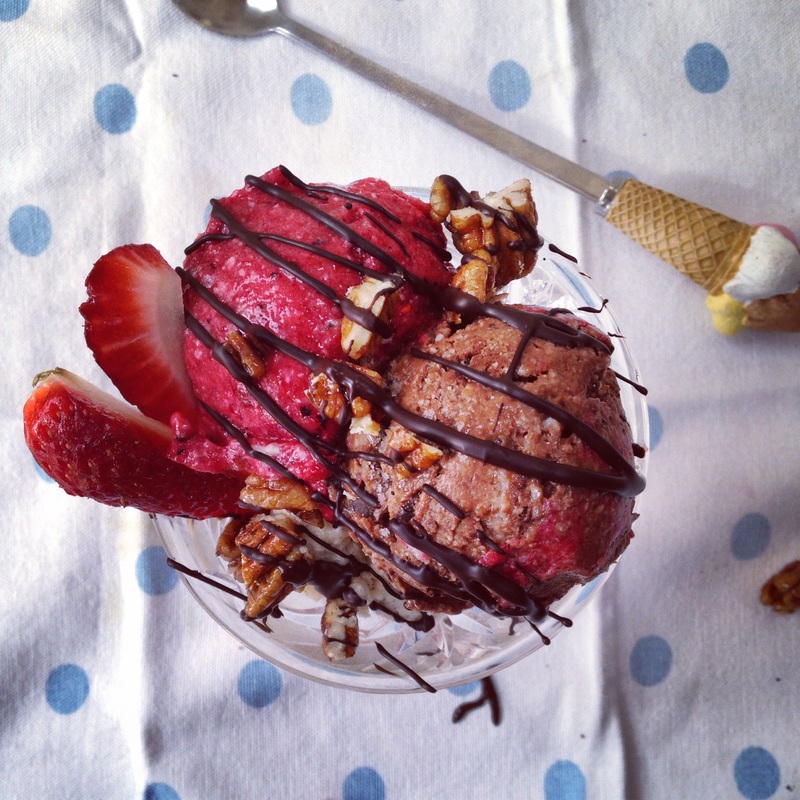
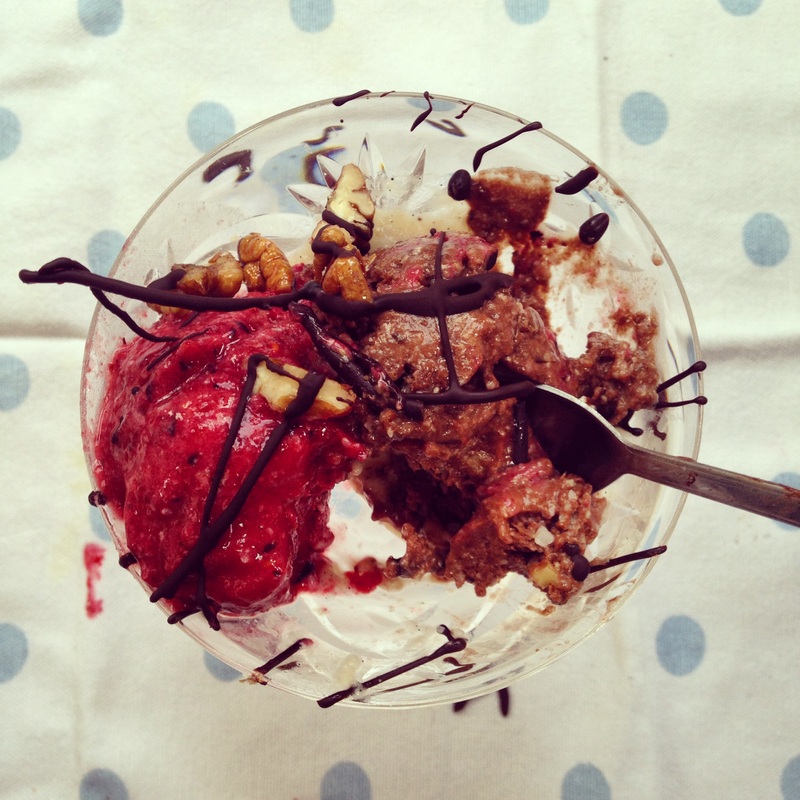
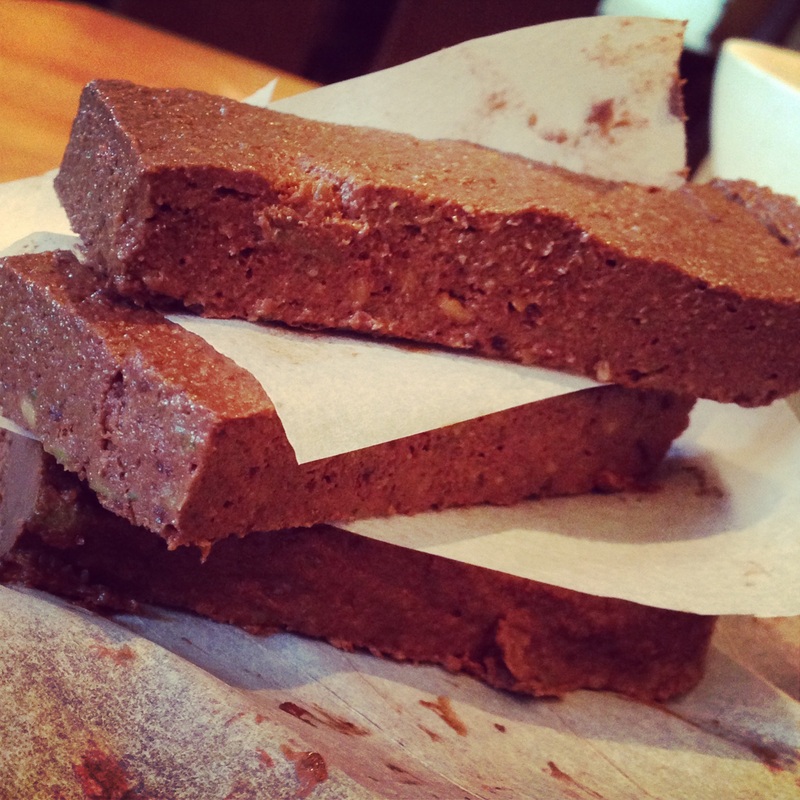
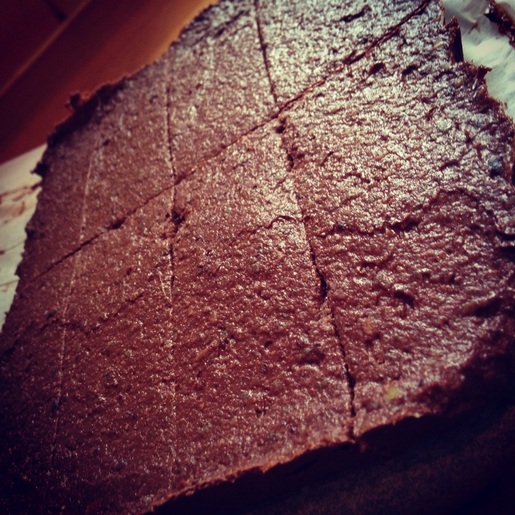
Finally use a warm spoon to scoop out the ice-cream and serve with a drizzle of chocolate sauce, or enjoy completely on its own, either way, it is mouthwateringly delicious! 
Picture
Picture
1 Comment

Dark Chocolate & Chili Cake

5/17/2014

0 Comments


PALEO, GLUTEN FREE, GRAIN FREE, DAIRY FREE, REFINED SUGAR FREE

I never really get the chance to make indulgent, rich cakes. So with my mums friend coming over to celebrate her 50th I took the opportunity to come up with this dark chocolate & chili cake. Delicious, dark & dense doesn't even begin to cover it. 
This cake is the perfect thing to prepare for a birthday party! It is full of sophisticated flavors and the aftermath of heat left in your mouth from the chili makes it even more satisfying. 
If your not a fan of chili and chocolate feel free to leave it out, but I think it makes this beauty of a cake.

Picture
Picture
Picture
Picture
Picture
Picture

INGREDIENTS

What you will need for the cake
3 cups of almond flour
1/3 cup of coconut flour
3/4 cup of dark cocoa powder
1/2 cup of date paste 
 (dates soaked in boiling water for 10 minutes, drain the water leaving about a tablespoon of it remaining, add to blender and blitz)
2 tsp baking soda
1 tsp salt
1/2 cup coconut oil, melted
1 cup coconut milk
3 large eggs
2 tsp vanilla extract 
1/4 cup honey
1/2 chili

For the frosting & filling
2 ripe avocados
1 cup cocoa powder
1/4 cup honey
1 cup date paste
pinch of salt
1 tsp instant coffee, diluted in 2 tbs boiling water
3/4 cup coconut milk

METHOD

Firstly preheat the oven to 180 degrees celsius. Prepare two 8 inch spring form tins with greaseproof paper so that they are ready to use.
Picture
Picture
Picture
Picture
To make the cake, add all the dry ingredients into a large mixing bowl. In a separate bowl mix all the wet ingredients together using a whisk. Slowly pour the wet ingredients into the dry ingredients making sure that everything is well incorporated.
Picture
Picture
Picture
Finely dice half a chili and add it to the batter. Divide the batter evenly among the two prepared tins and bake in the oven for 20-25 minutes until a skewer comes out clean.
Let the cakes sit in the tins for about 5 minutes before removing. Allow to cool completely on a wire rack until both cakes are at room temperature. Meanwhile prepare the chocolate filling.

FROSTING

Picture
Picture
Picture
Picture
The filing couldn't be more simple to prepare. Load up all the ingredients into a blender and blitz until completely smooth. This should take about 4 minutes, make sure you keep on scraping down the sides of the blender so the frosting isn't lumpy. 
Spread a generous layer of the frosting between the two pieces of cake. Then load up the rest of the frosting on top the top piece. Using an off set spatula gently spread the frosting down the sides of the cake until the entire thing is covered.
Picture
Picture
Picture
 I used my spatula to create lines along the side of the cake and I just used circular motions on the top of the cake to create some texture. Garnish with a little bit of chili and serve!
0 Comments

Carrot Cake

4/17/2014

1 Comment


PALEO, GLUTEN FREE, GRAIN FREE, DAIRY FREE & SUGAR FREE

For me, carrot cake is where it all began. If you have read the about me section you will know that I had previously set up Sweet Inspirations. This is where my passion for baking began to flourish. Carrot cake was a staple and a cake that was regularly on high demand, it was filled with spices, sugars and indulgent cream cheese frosting, who wouldn't be able to resist. But with people becoming more health conscious these days, and with buzz words like paleo, vegan and gluten free being thrown about every day, the need to reinvent this cake became apparent. 
So I have transformed this cake into a much healthier and(personally I didn't think this was possible) tastier version. This cake is moist, dense and packed with flavor. It can be eaten with or without the 'cream cheese frosting', either way it is just as delicious! 


Picture
Picture
Picture
Picture
Picture
Picture
Picture


INGREDIENTS


1 1/2 cups of nut flour
(I used a combination of walnut, hazelnut & almond)
1 tps cinnamon 
1 tsp ground nutmeg
1 tsp baking powder
pinch of salt
4 eggs
2 1/2 cups of grated carrot
1/2 cup of coconut oil
1/2 cup of honey
1/2 cup of chopped pecans


Picture


For the 'cream cheese' frosting

1 cup of coconut milk
2/3 cup of honey/agave syrup
pinch of salt
1 tsp vanilla extract
5 tsp of arrowroot powder
(this is a thickening agent, if you dont have it corn flour would work although this is not paleo/gluten free)
1 tbs of water
1/2 cup of coconut oil


Picture
Picture
Picture


METHOD


Picture
Picture
Picture
Picture


First of all preheat the oven to 150 degrees celsius. 
Grate 2 large carrots so that they are ready to be used at a later stage. 
If you don't have nut flour you can simply just grind up the nuts in your food processor. I left mine a little more coarse than normal flour texture as I love the extra bite that it gives to this cake.

So add the nut flour, cinnamon, nutmeg, salt & baking powder to a bowl.
In a separate bowl add the coconut oil, honey and eggs. Beat together until everything is well combined. Add the wet ingredients to the dry ones and stir it all together. Lastly add the chopped pecans and grated carrot, give the mixture one last stir to incorporate all the ingredients together.

If you don't have baking paper(which I didn't) you can simply brush the baking tin with melted coconut oil and then line it with a sprinkle of the almond flour. Tap out any excess flour that is in the tin. I made my cake in a rectangle tin but what ever you want to use is entirely up to you.

Pour the batter into the prepared tin and pop in the oven for 50 minutes. Allow to cool completely before taking it out of the tin and applying the icing.


Picture
Picture
Picture
Picture


To make the icing.
Add the coconut milk, honey, salt and vanilla extract into a saucepan over medium heat. Stirring consistently, bring to the boil.
Allow to boil for 2 minutes. While the coconut milk mixture is boiling prepare the thickening agent. In a small bowl, mix together the arrowroot powder and the water(this prevents any lumps from forming). Take the coconut milk off the heat and mix in the thickening agent. Melt the coconut oil and slowly whisk it in to the coconut milk mixture.

Allow this to cool in the fridge until it is completely chilled. Whisk it up again before icing the carrot cake.

Et voila! 

Thats it.

Enjoy! 
Picture
Picture
1 Comment

Pecan & Maple Apple Tart

4/5/2014

0 Comments


PALEO, VEGAN, DAIRY FREE, GLUTEN FREE


Yes, I know another tart, but with spring in the air there are few things i enjoy more then sitting out in the sunshine with a cooling drink and a slice of summer, that being this beyond delicious apple tart. The base is bursting with flavor and the aromas from the toasted pecans fill your house with warm nutty smells.
This dessert is also great if your having a dinner party and want to have something ready before hand, as it is just as nice eating it room temperature as it is enjoying it hot out of the oven. With all these positives its nearly impossible not to give this a go, AND its made with whole foods that are super good for you! 


Picture
Picture
Picture
Picture
Picture


INGREDIENTS


For the pecan crust you will need
2 cups of pecans
2 tbs coconut flour
4 tbs coconut oil
8 dates(soaked)
generous pinch of salt

For the maple filling
1 tbs of the pecan crust mixture
1 tbs coconut flour
1 tbs maple syrup
1 tbs prune syrup
1 tsp vanilla extract
pinch of salt
1 tsp cinnamon
1 tbs of water(to loosen)

Apples
4 small apples(cored and sliced)


Picture
Picture
Picture


METHOD


Firstly, preheat the oven to 120 degrees celsius. Soak the dates in boiling water for about 5 minutes.
Start by making the crust. Add the pecans, coconut flour, salt to the blender. Blitz until you have a fine crumby mixture. Melt the coconut oil and add it to the crumby mix. Drain the soaking water from the dates and add them to the blender. Blitz again until everything comes together, it should hold when pressed against the side.
Reserve one heaped tablespoon of the crust for the maple filling and pour the rest into your tart tin. Press it firmly into the base and up the sides, leave this to the side while you prepare the filling.

For the maple filling, add the the reserved crust mixture to a blender along with the coconut flour, maple syrup, prune syrup, vanilla extract, salt & cinnamon. Blitz everything so that it is well combined. You want a slightly runny consistency, but not too runny so that it will saturated the base. Add a tablespoon at a time to loosen, I only used about a tablespoon and a half. 

I love leaving the skins on the apples as I think it adds extra flavor and colour, so just simply core and slice the apples. Pour the filling into the base of the tart tin and lay the apples on top in a decorative pattern, or just throw them all in, its completely up to you! 
For this one, I just lay the apples down first and then spooned the filling over, but as I said it is whatever you fancy!
Pop it in the oven for 20 minutes, until the apples are soft and golden brown, the base is cooked and aromatic and the filling has hardened up a little.
Leave in the tart tin to cool. When it has completely cooled, cut and serve with some coconut ice-cream.
Enjoy!  


Picture
Picture
Picture
0 Comments

Rhubarb, Strawberry & Ginger Tart

4/1/2014

1 Comment


PALEO, VEGAN, GLUTEN FREE, DAIRY FREE & SUGAR FREE

I recently got sent a picture of rhubarb from a market in London. The colours of the vibrant stalks were incredible. This inspired me to use this beautiful vegetable, and in turn I created this recipe. The filling is absolutely delicious and would be fantastic on its own over ice-cream or even as a jam. This tart base is also so easy to make and can be used with all sorts of combinations of fillings. 
My rhubarb, strawberry & ginger tart is the perfect spring/summer dessert, just plonk it in the middle of the table and its gone in seconds.
Picture
Picture
Picture
Picture

INGREDIENTS

For the crust
1 cup coarse almond flour
1 cup coarse walnut flour
3 tbs coconut oil
8 dates, soaked
pinch of salt

For the filling
3 cups of rhubarb, chopped
thumbnail size piece of ginger, grated
juice & zest of 1/2 a lemon
1 tsp of date syrup
1 vanilla pod
1/2 a teaspoon of orange blossom liquor
7/8 strawberries
Picture
Picture

METHOD

Picture
Firstly preheat the oven to 150 degrees celsius.
Boil the kettle and allow the dates to soak while you get the other ingredients ready. 
Prepare your nut flours. Place one cup of almonds in a blender. Blitz until it is a flour like consistency. Here you do not have to be too particular with how fine the flour is. I actually prefer it a little coarse as it adds a lovely crunch to the tart base.
Do the same with the cup of walnuts.
Add both the nut flours to a medium bowl with a pinch of salt. 
Drain the soaking water from the dates and add these to the blender with the nut flour and coconut oil.
Blitz until everything comes together. The crust should stay intact when pinched between your fingers.

Picture
Press the mixture into your tart tin and bake in the oven for 15-18 minutes until it is brown and golden.
Leave the base to cool in the tart tin while you prepare your filling.

Picture
Picture
Picture
Roughly chop the rhubarb and add this to a heavy saucepan with a sturdy base over a medium heat.
Squeeze in the lemon juice and add the grated ginger. Add half the ginger first just to taste. The ginger can appear very strong so don't be heavy handed with it. Less is more, as you just want the subtle heat from it.
Pour in the date syrup and a little of the orange blossom liquor, same apples with the orange blossom a little goes a long way so use is sparingly.
Deseed the vanilla bean pod and ass the seeds to the pot. Allow the rhubarb to cook down slightly, still keeping most of the pieces of rhubarb intact but soft. 
Dice up the strawberries. Take the rhubarb off the heat and allow to cool for about 10 minutes before adding the strawberries. Stir them in and allow the filling to completely cool before adding it to the crust.
When everything is at room temperature, add the filling and smooth out the top as much as possible. Remove the crust from the tin and place on a cake stand.
Serve with custard or ice-cream.
Enjoy

Picture
1 Comment

Ice-cream Sundae

3/22/2014

2 Comments


PALEO, VEGAN, RAW, RAW VEGAN, DAIRY FREE, GLUTEN FREE & SUGAR FREE

I honestly don't think an ice-cream sundae can get any healthier than this, seriously there is nothing but goodness(& a bit of dark chocolate) in my creation. There are so many different variations of ice-cream that you can make by just adding ingredients to the base(frozen banana). I have tried almond butter, cinnamon, passion fruit, mango and they are all delicious. The possibilities are endless!
And yes, you can have this any day of the week even have it for breakfast, because it is scrumptious!

The three flavors I chose for this ice-cream sundae are: Creamy Vanilla Bean, Mixed Berry & Chocolate with Nutty Toasted Pecan 
Picture
Picture
Picture
Picture
Picture

INGREDIENTS

For one ice-cream sundae
You will need
2 bananas
2 tsp coconut oil
1/2 cup of frozen berries
3 strawberries
1/4 cup of pecans
2 squares of 85% dark chocolate
1 tbs cocoa powder
1 tsp honey
1 vanilla pod

Picture
Picture
Picture


METHOD

Picture
Picture
Picture
Picture
Having the bananas frozen solid is an important point to remember when making this ice-cream. If you don't give the banana enough time to solidify your ice-cream will turn into a runny mess.
So 2 hours before make the different flavor ice-creams, finely slice the bananas and place in the the freezer to harden.
After two hours blitz the frozen banana in a blender with the coconut oil until smooth. Pour the creamy banana mixture back into the freezer to harden for an hour.
Picture
Picture
Next prepare the ingredients for the different flavors. In a pan, on a medium heat toast the pecans in the honey with about 2 tablespoons of water. Use the water to loosen the honey and to coat the pecans. Let the water evaporate off, you will be left with a sticky honey covering on the toasted pecans. 
After an hour get the ice-cream from the freezer and divide it into 3 equal portions. Each portion will be a different flavor.
Picture
Picture
To make the the toasted pecan and chocolate ice-cream, add one portion of the creamed frozen banana to the blender along with 4 or 5 of the sticky toasted pecans, the cocoa powder and 1 square of chocolate. Blitz until everything is creamed together. I actually like to leave mine a little chunky, one of my favourite parts is coming across chunks of chocolate and honey coated pecans. Place the chocolate ice-cream back in the freezer while you prepare the other two flavors. 
Picture
Picture
Rinse off the blender and add the 2nd portion of the banana ice-cream. To this add 2 fresh strawberries and the frozen berries. Blitz until everything is smooth. Again feel free to leave bits of strawberry to be found along the way!
Place this bowl in the freezer also.
Picture
Rinse the blender for a final time and add the last portion of banana ice cream. Scrape the vanilla seeds out of the pod and add them to the blender. Blitz until smooth.
I find to speed up the hardening process its best to smear the ice-cream around the sides of the bowl so that there is more surface area for the cold freezer air to get to.
Put this bowl with the other two in the freezer for a final 30 minutes just to ensure the ice-cream is set.

Picture
Picture
Picture
After the 30 minutes. Get a pretty little serving bowl and an ice-cream scoop. Melt the last square of dark chocolate so that it is ready to be drizzled on top. 
Add one scoop of each flavor to your ice-cream cup crumble over the remaining toasted pecans, add a few slices of strawberry & drizzle over the melted chocolate. 
Put your feet up, relax and enjoy! 

Picture
Picture
GOING...
Picture
GOING...
Picture
GONE.
2 Comments

Chocolate Covered Fudge Bars

2/18/2014

0 Comments

 
GLUTEN FREE, DAIRY FREE, VEGAN, PALEO & VEGETARIAN 
Picture
Picture
A late valentines day recipe, for a moorish dessert or something to nibble on over a chilled bottle of bubbly
These are a variation of my Chocolate Fudge Bars. This fudge is so versatile in terms of flavors. Try adding chili powder or fresh finely diced chili to the recipe for an extra hot bite. Also feel free to throw in any nuts of your choice, try roasting them before, this adds another dimension of flavor and elevates these to a whole new level. 
I feel that the chocolate in this recipe needs to be heavily salted. Maybe it is just me, but I love salted chocolate, and the higher the percentage of cocoa, the more salt it needs. So don't be afraid to be heavy handed with the seasoning. Life's too short! 
Picture

INGREDIENTS

Yields 16 Medium Sized Bars
What you will need:
  • 2 small avocados, skin and pits removed
  • 1 medium banana, peeled 
  • 1 cup dates, pitted
  • 1 cup walnuts
  • 1/4 cup cocoa powder, unsweetened
  • 1/4 tsp salt
  • 170g of dark chocolate (70% or higher)
  • Coarse sea salt for topping
Picture

METHOD

Simply follow the instructions here to make this delicious chocolatey fudge.
Picture
Once you have taken the fudge out of the freezer. Melt your dark chocolate over a ban marie. You can either spread a heavy layer of chocolate on top of each bar, or submerge each bar so that it is entirely covered with the smooth velvety chocolate. Which ever way you prefer, they are equally delicious. 
Picture
Patiently wait until the chocolate has hardened. Share and enjoy with friends and family. 
Picture
0 Comments

Chocolate Fudge Bars

2/18/2014

1 Comment

 
VEGAN, PALEO, GLUTEN FREE & DAIRY FREE
Creamy, Sweet, Chocolatey & Salty. What more would you want to satisfy a sweet tooth, which occurs far too often for me. They are the perfect treat to be shared with friends and family or enjoyed on a Saturday night in wedged in the middle of your couch in front of endless TV. They are completely sugar, gluten and dairy free, vegan, vegetarian and paleo friendly. So stop drooling over how tasty these beauties look and get mixing! 
These fudge bars need to be stored in the freezer as they will melt if left in a warm kitchen. 
Picture

NUTRITIONAL VALUE

Recipe yields 16 servings
Nutrition FactsServing Size 53 g
Amount Per Serving
Calories 140

Calories from Fat 88
Total Fat 9.8g
Saturated Fat 1.4g
Trans Fat 0.0g
Cholesterol 0mg
Sodium 37mg
Potassium 296mg
Total Carbohydrates 13.7g
Dietary Fiber 3.7g
Sugars 8.2g
Protein 3.0g
Vitamin A 1%•Vitamin C 6%Calcium 1%•Iron 5%

INGREDIENTS

Yields 16 Medium Sized Bars
What you will need:
  • 2 small avocados, skin and pits removed
  • 1 medium banana, peeled 
  • 1 cup dates, pitted
  • 1 cup walnuts
  • 1/4 cup cocoa powder, unsweetened
  • 1/4 tsp salt
  • Coarse sea salt for topping
Picture

METHOD

Picture
Line a deep dish with greaseproof paper. 
Add all the ingredients in the blender except for the coarse sea salt. Blend until you get a thick, creamy mixture. This should take 7-10 minutes depending on the blender. 
Picture
Spread the mixture evenly in your tin with an off set spatula. I wanted to make thick chunky bars so I spread mine until it was about 3/4 of an inch thick. 
Picture
Place the fudge in the freezer for at least two hours. When they are ready to come out slice them in to squares or rectangles and sprinkle the coarse sea salt on top. Keep stored in the freezer as they quickly become soft.
Picture
Place parchment paper in between bars if you want to stack them. Next time I want to make cute little parchment wrappers to wrap the fudge bars individually. 
Picture
Enjoy.
1 Comment
    CLICK BELOW TO FOLLOW ME

    RSS Feed

    CONTACT ME
    FOLLOW ON INSTAGRAM

    Archives

    October 2016
    June 2014
    May 2014
    April 2014
    March 2014
    February 2014
    January 2014
    December 2013
    November 2013

    Categories

    All
    After Dinner
    Almond
    Almonds
    Apple
    Apple Pie
    Apples
    Avocado
    Baking With Vegetables
    Banana
    Banana Ice Cream
    Bars
    Blondies
    Brazil Nuts
    Brownies
    Carrot
    Cashews
    Cheesecake
    Chewy
    Chocolate
    Chocolate Brownie
    Chocolate Cheesecake
    Chocolate Fudge
    Chocolates
    Christmas Baking
    Cinnamon
    Clean
    Clean Fudge
    Coconut
    Coconut Flour
    Coconut Oil
    Cognac Custard
    Courgette
    Cranberry
    Custard
    Dairy Free
    Dark Chocolate
    Dates
    Desiccated Coconut
    Dessert
    Frozen Desserts
    Fudge
    Fudge Bars
    Ginger
    Gluten Free
    Grain Free
    Healthy
    Healthy Apple Dessert
    Honey
    Icecream
    Ice Cream
    Icecream Sundae
    Marshmallow Frosting
    Muffins
    No Refined Sugar
    Paleo
    Pecan
    Pecans
    Peppermint
    Pie
    Raw
    Raw Dessert
    Raw Vegan
    Rhubarb
    Rhubarb Tart
    Salt
    Shredded Apple
    Strawberries
    Strawberry
    Sugar Free
    Sultana
    Sweet Potato
    Sweet Potato Brownie
    Tart Crust
    Thanksgiving Desserts
    Treat
    Treats
    Vanilla
    Vanilla Cheesecake
    Vegan
    Vegan Dessert
    Vegetable
    Vegetarian
    Walnut
    Walnuts
    Wholewheat

Powered by Create your own unique website with customizable templates.