
PALEO, GLUTEN FREE, GRAIN FREE, DAIRY FREE & SUGAR FREE
For me, carrot cake is where it all began. If you have read the about me section you will know that I had previously set up Sweet Inspirations. This is where my passion for baking began to flourish. Carrot cake was a staple and a cake that was regularly on high demand, it was filled with spices, sugars and indulgent cream cheese frosting, who wouldn't be able to resist. But with people becoming more health conscious these days, and with buzz words like paleo, vegan and gluten free being thrown about every day, the need to reinvent this cake became apparent.
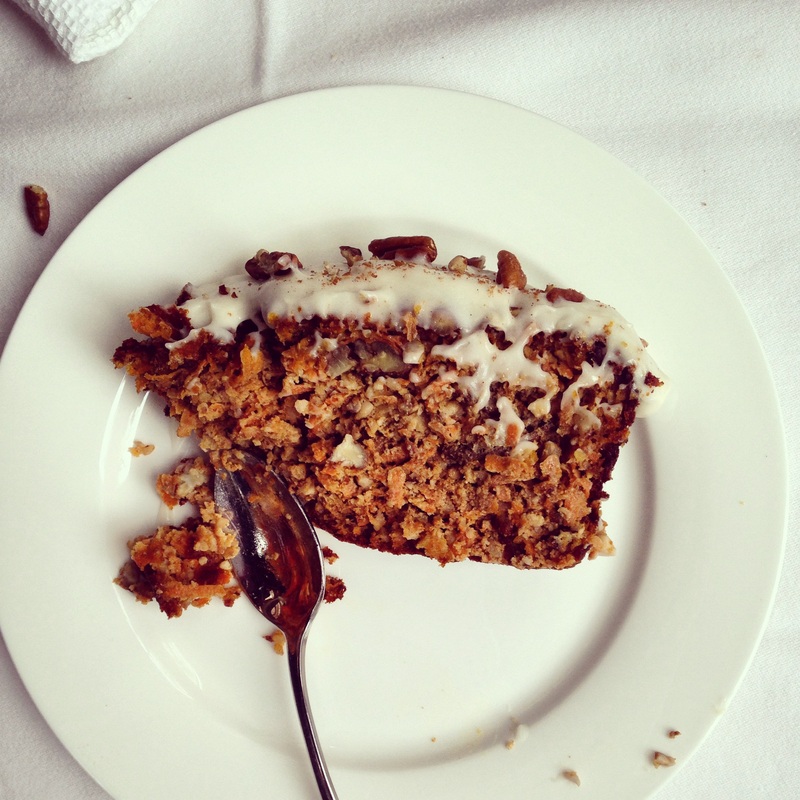
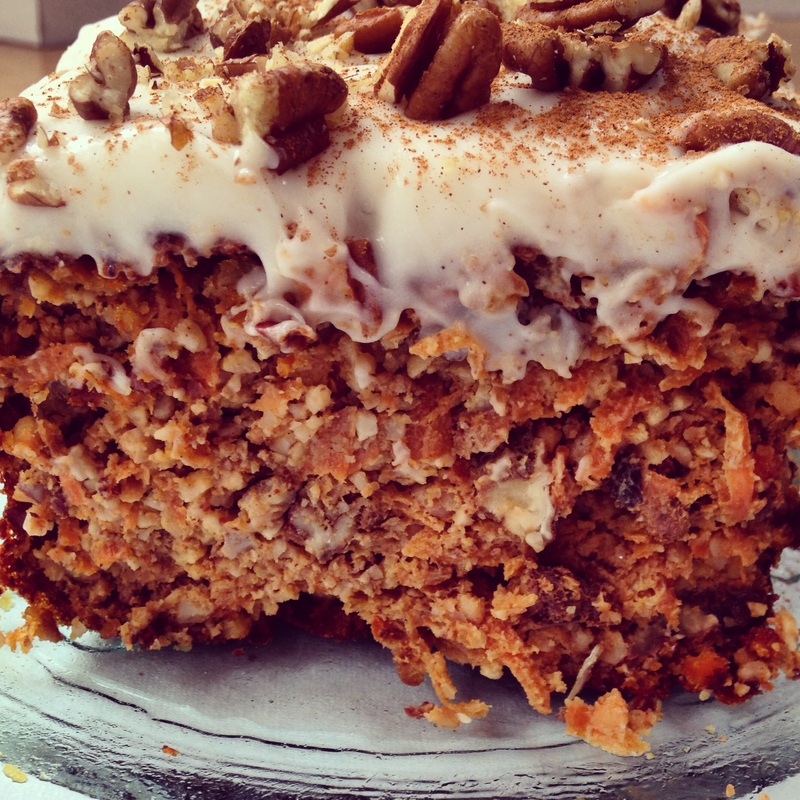
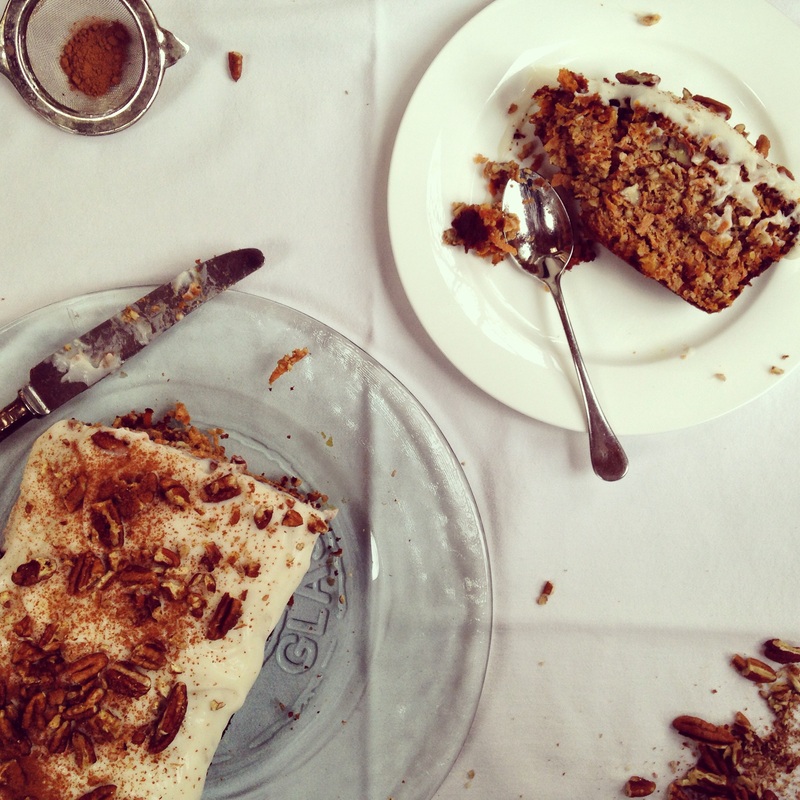
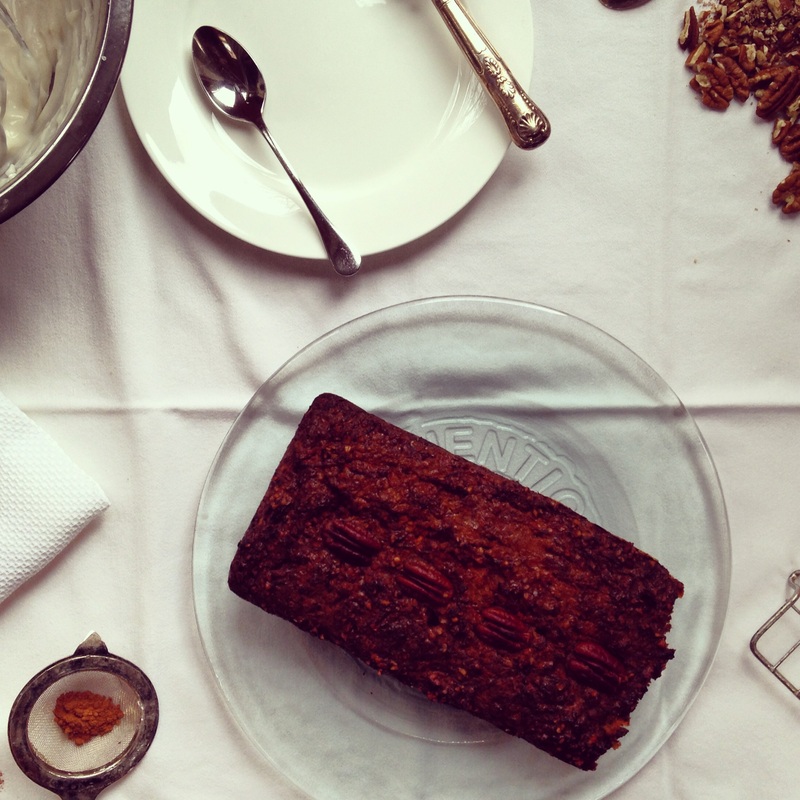
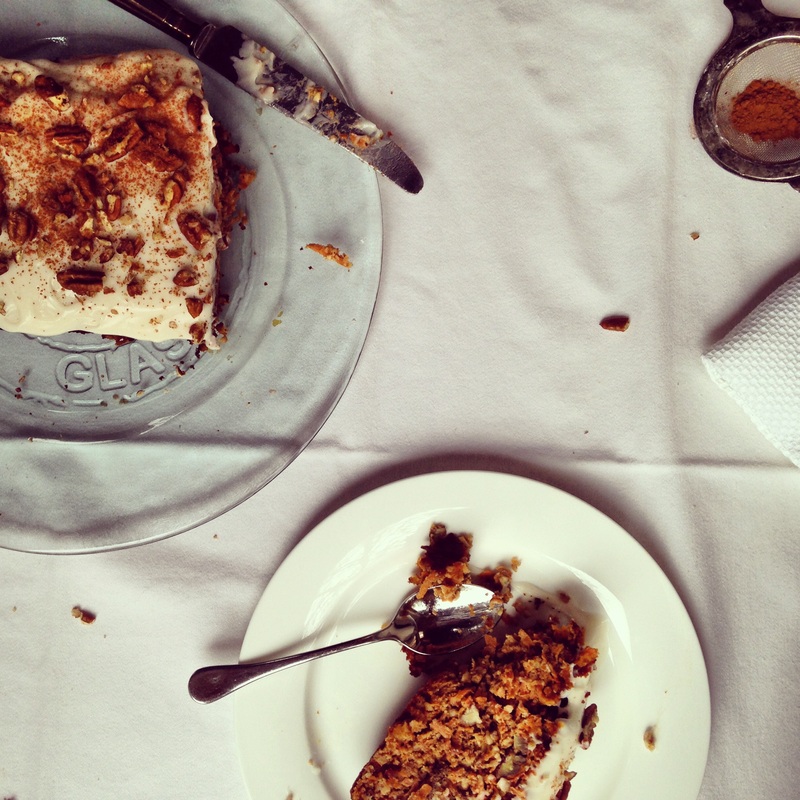
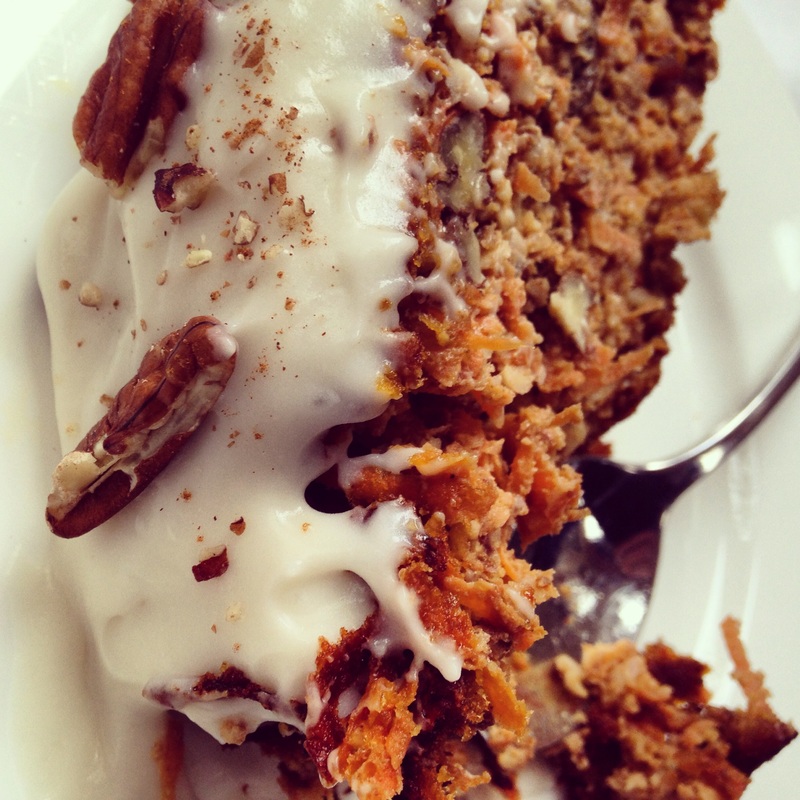
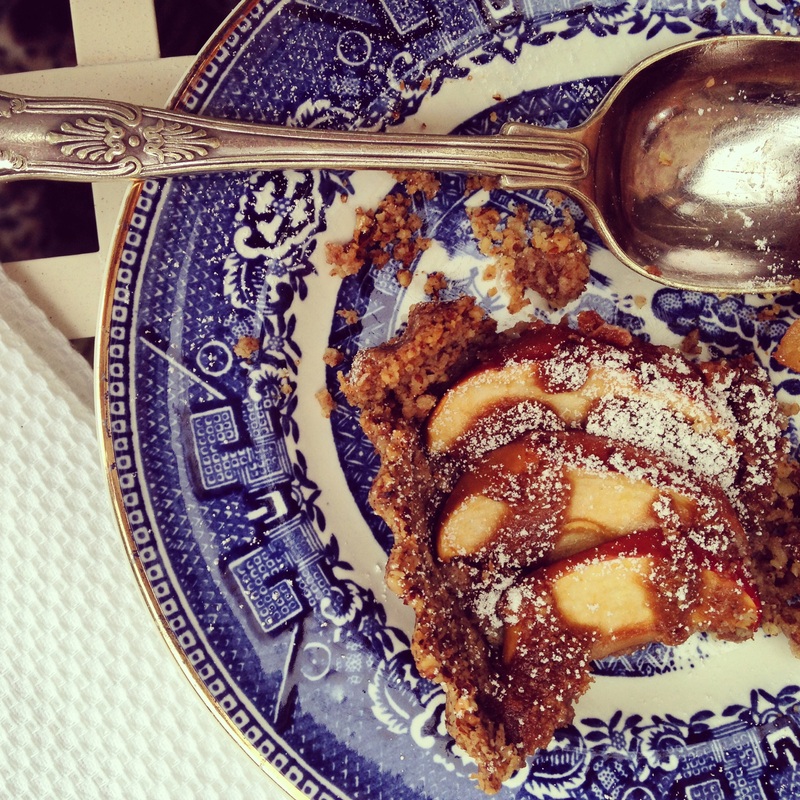
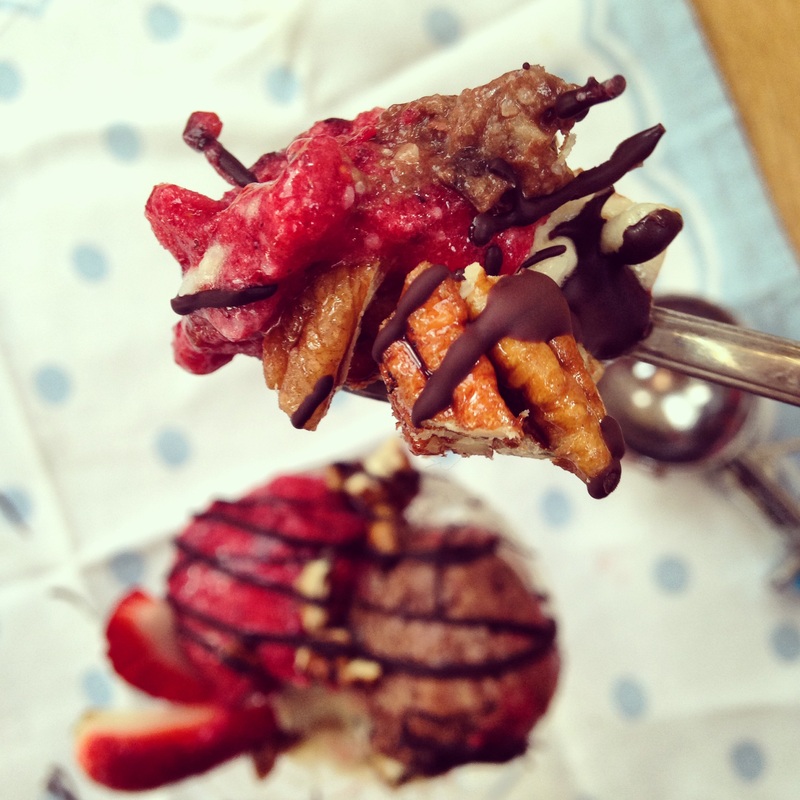
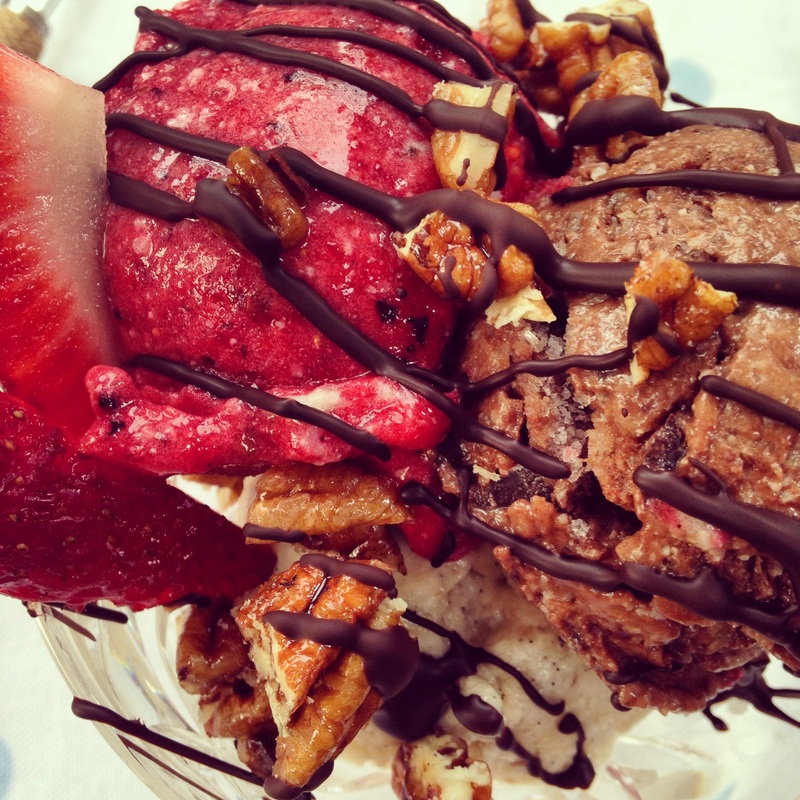
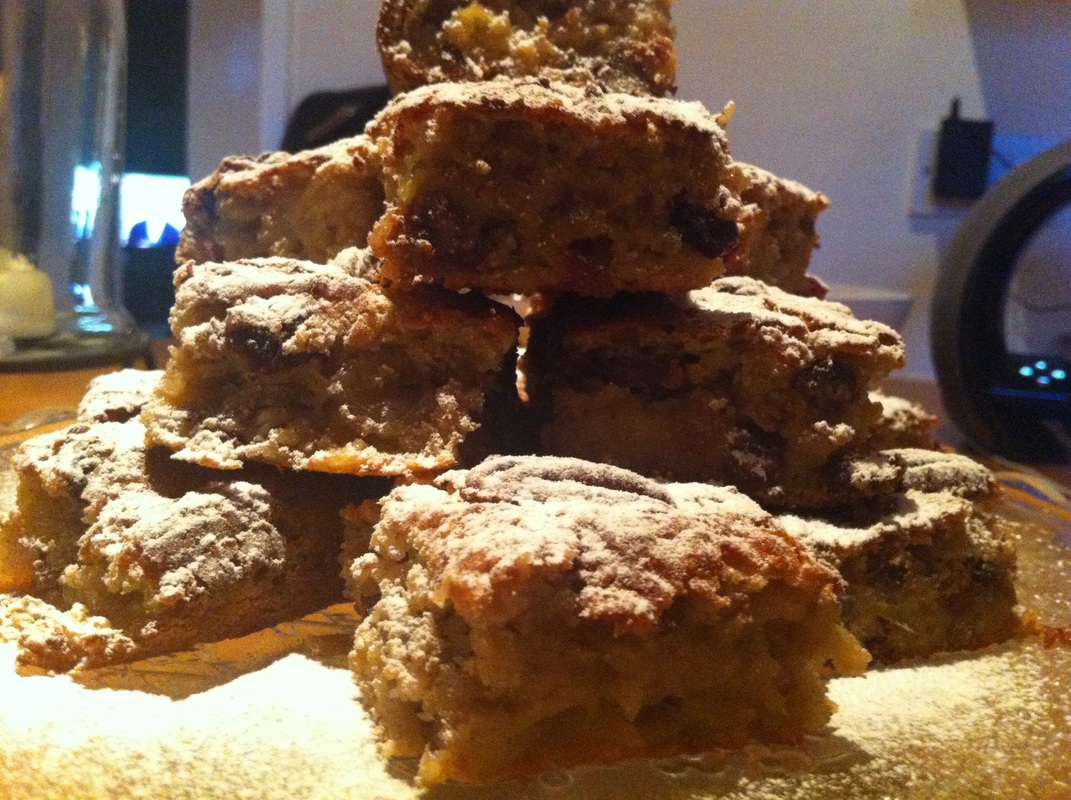
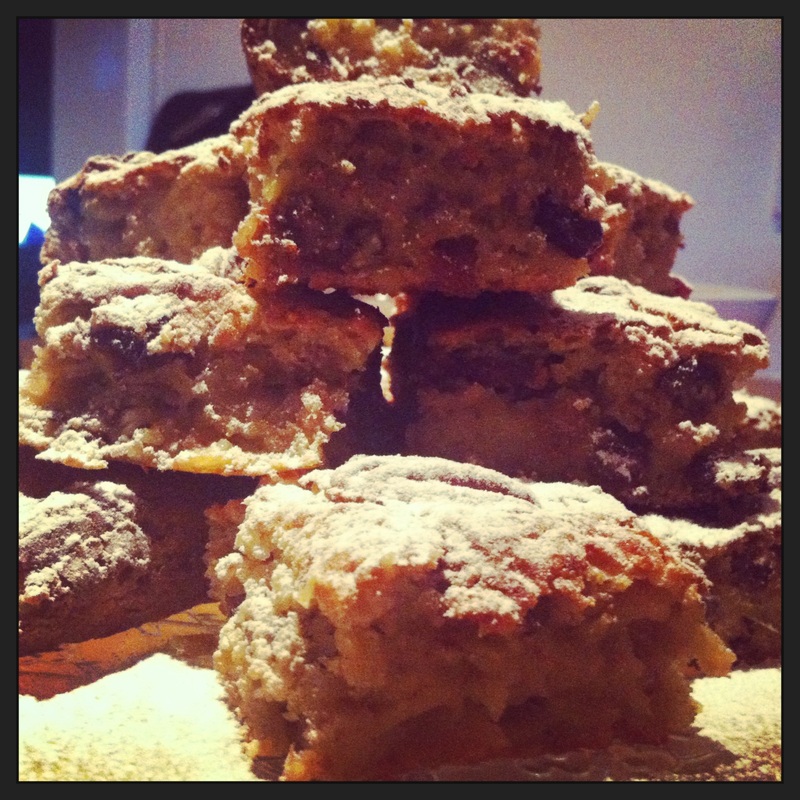
So I have transformed this cake into a much healthier and(personally I didn't think this was possible) tastier version. This cake is moist, dense and packed with flavor. It can be eaten with or without the 'cream cheese frosting', either way it is just as delicious!
So I have transformed this cake into a much healthier and(personally I didn't think this was possible) tastier version. This cake is moist, dense and packed with flavor. It can be eaten with or without the 'cream cheese frosting', either way it is just as delicious!
INGREDIENTS
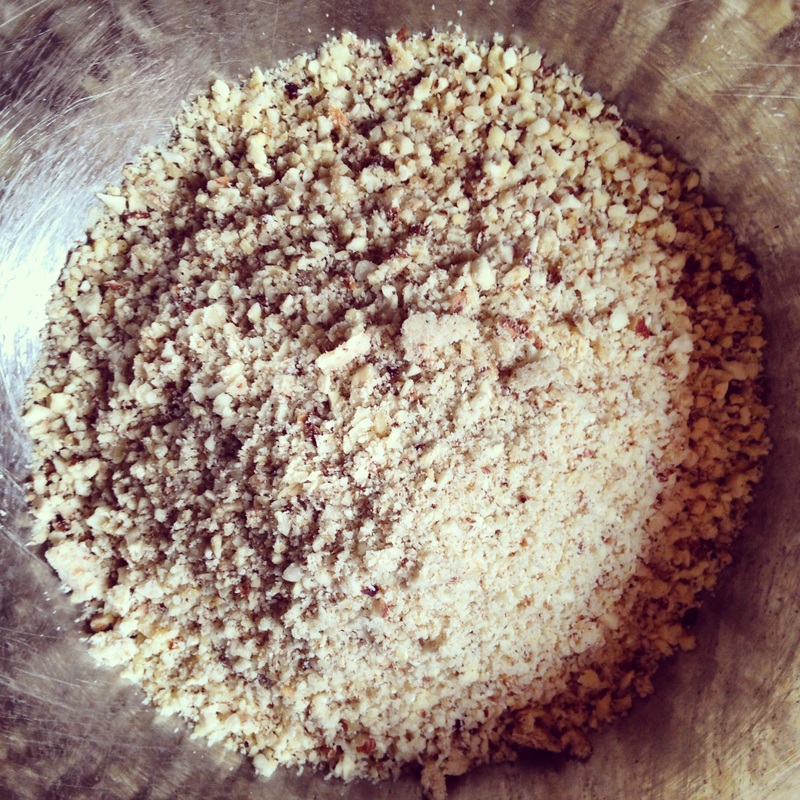
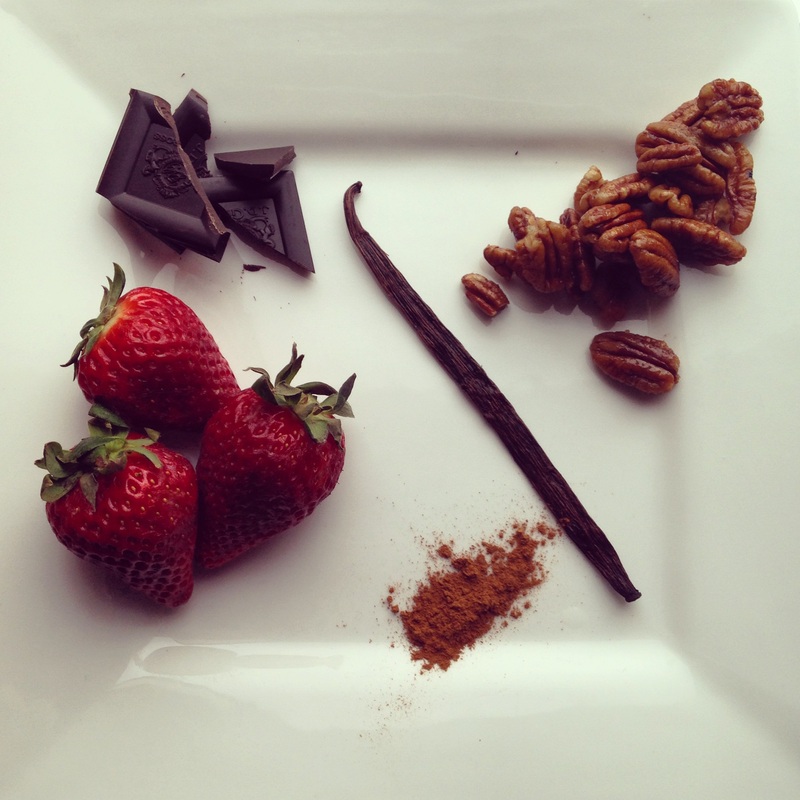
1 1/2 cups of nut flour
(I used a combination of walnut, hazelnut & almond)
1 tps cinnamon
1 tsp ground nutmeg
1 tsp baking powder
pinch of salt
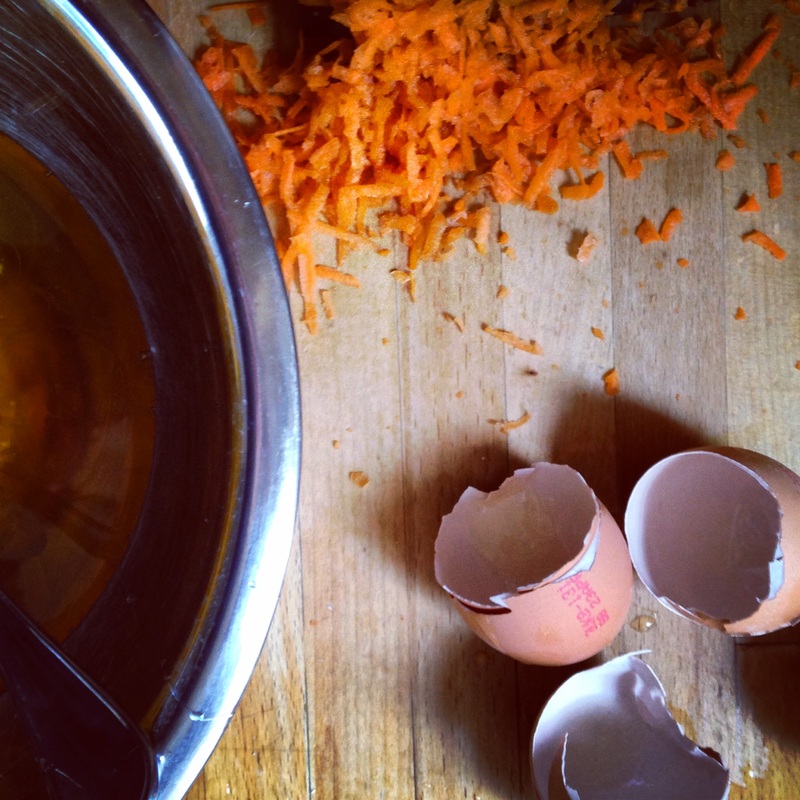
4 eggs
2 1/2 cups of grated carrot
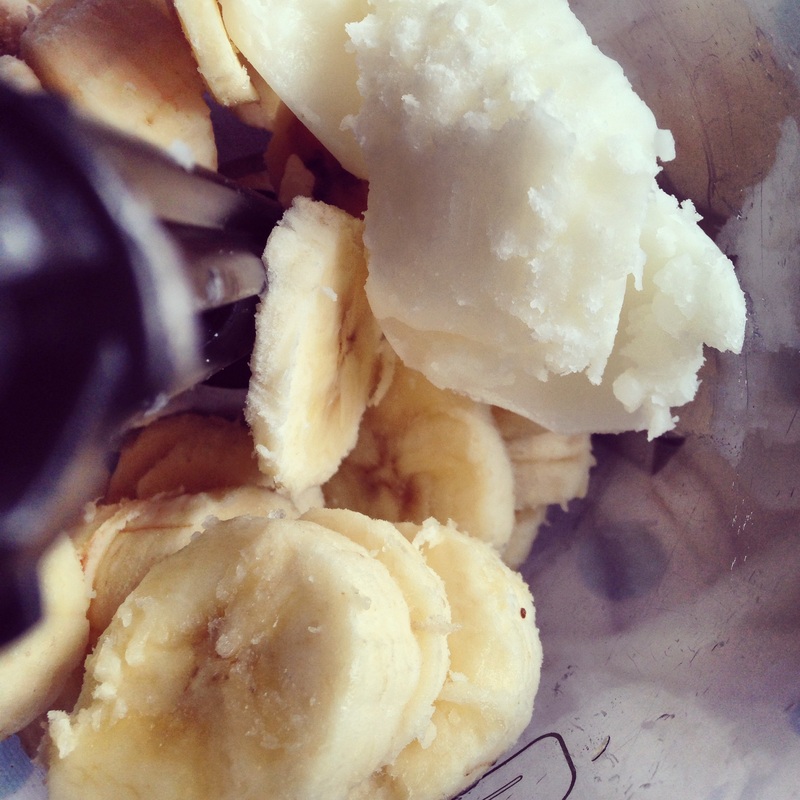
1/2 cup of coconut oil
1/2 cup of honey
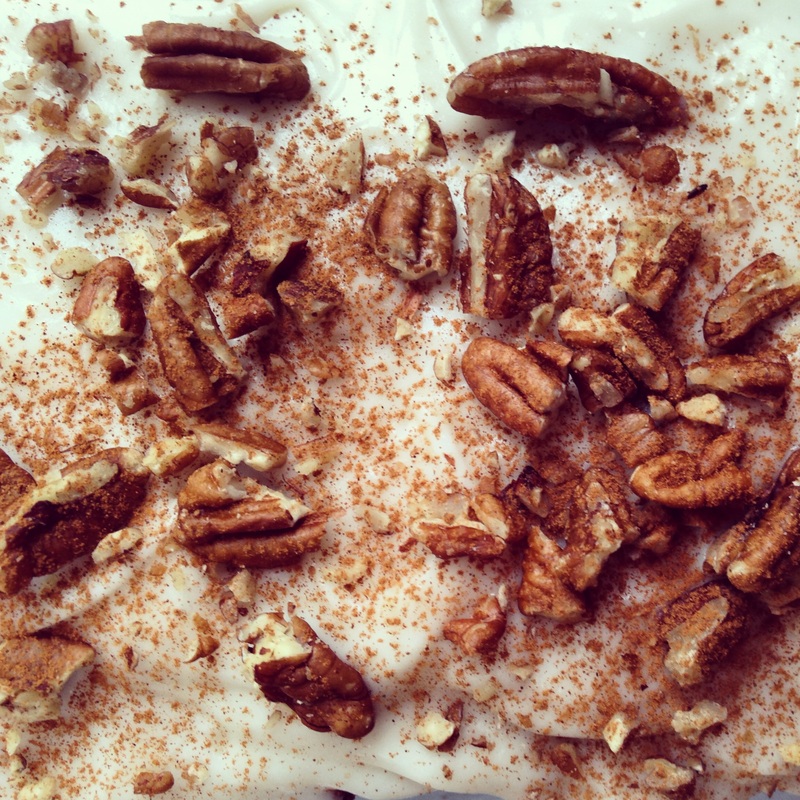
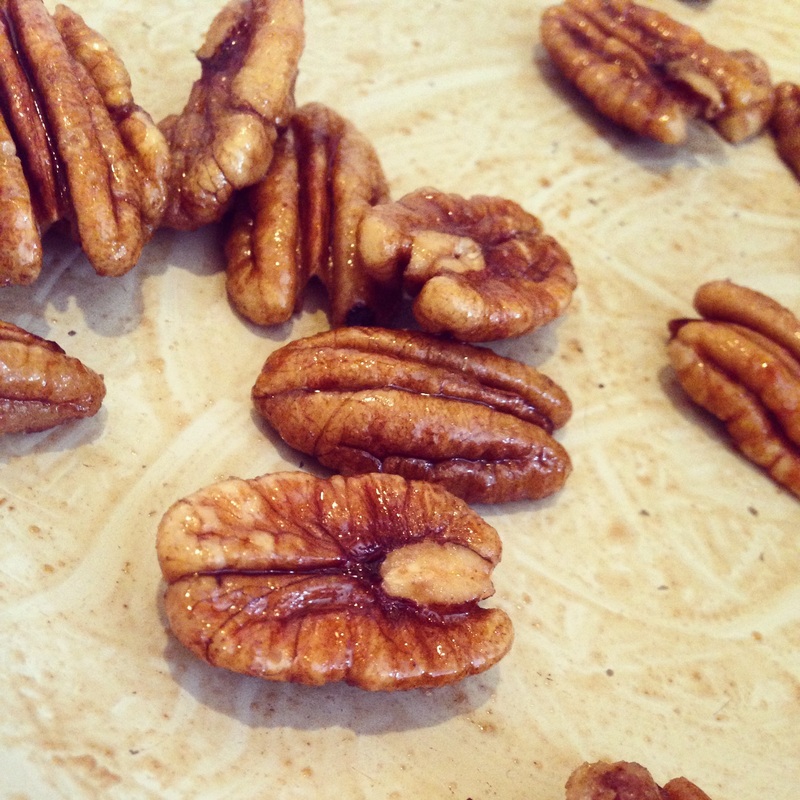
1/2 cup of chopped pecans

For the 'cream cheese' frosting
1 cup of coconut milk
2/3 cup of honey/agave syrup
pinch of salt
1 tsp vanilla extract
5 tsp of arrowroot powder
(this is a thickening agent, if you dont have it corn flour would work although this is not paleo/gluten free)
1 tbs of water
1/2 cup of coconut oil
 |  |
METHOD
 |  |
 |  |
First of all preheat the oven to 150 degrees celsius.
Grate 2 large carrots so that they are ready to be used at a later stage.
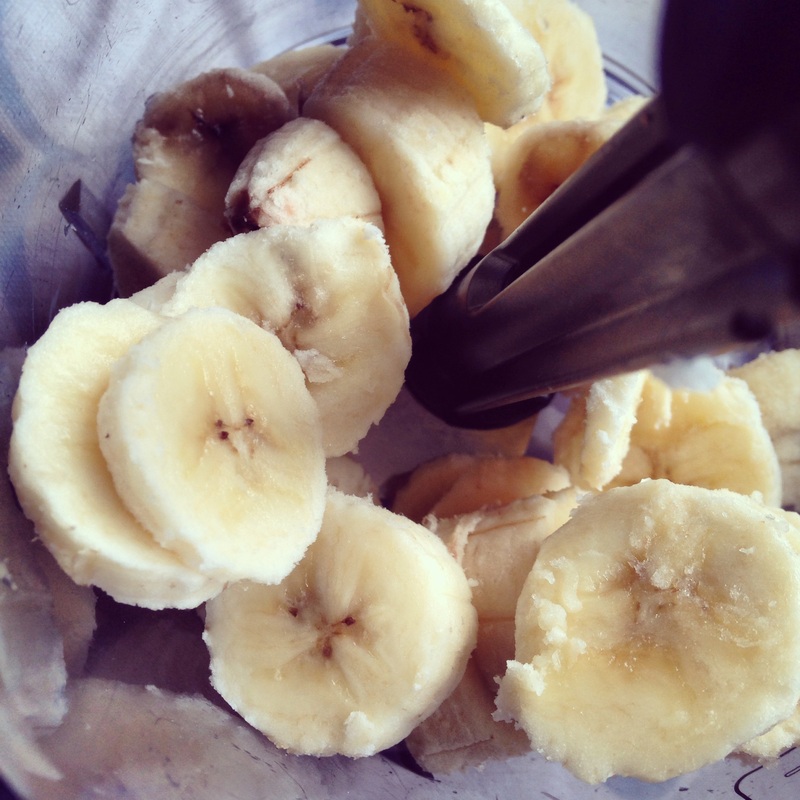
If you don't have nut flour you can simply just grind up the nuts in your food processor. I left mine a little more coarse than normal flour texture as I love the extra bite that it gives to this cake.
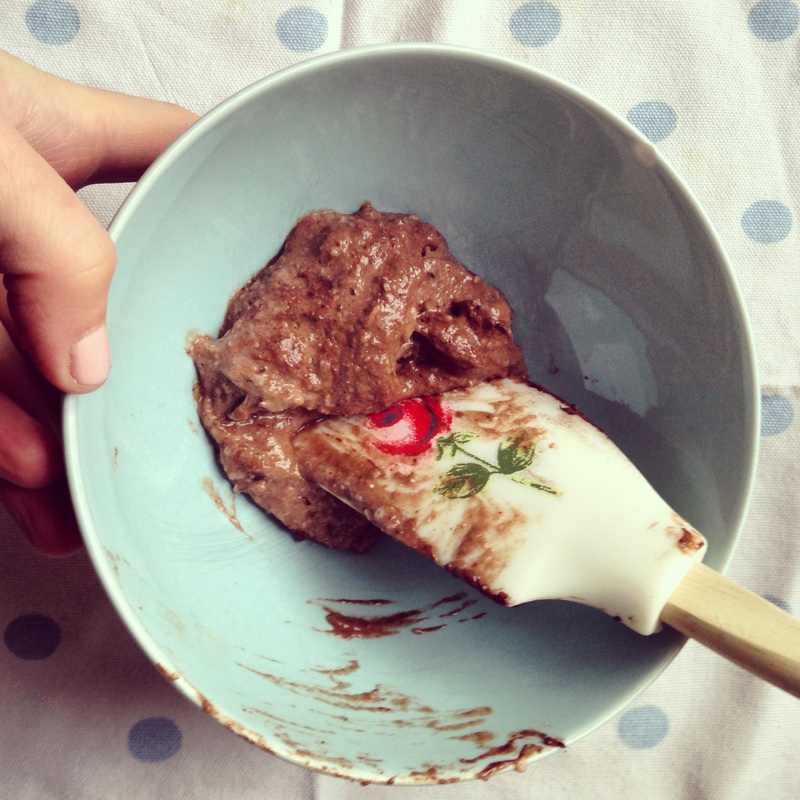
So add the nut flour, cinnamon, nutmeg, salt & baking powder to a bowl.
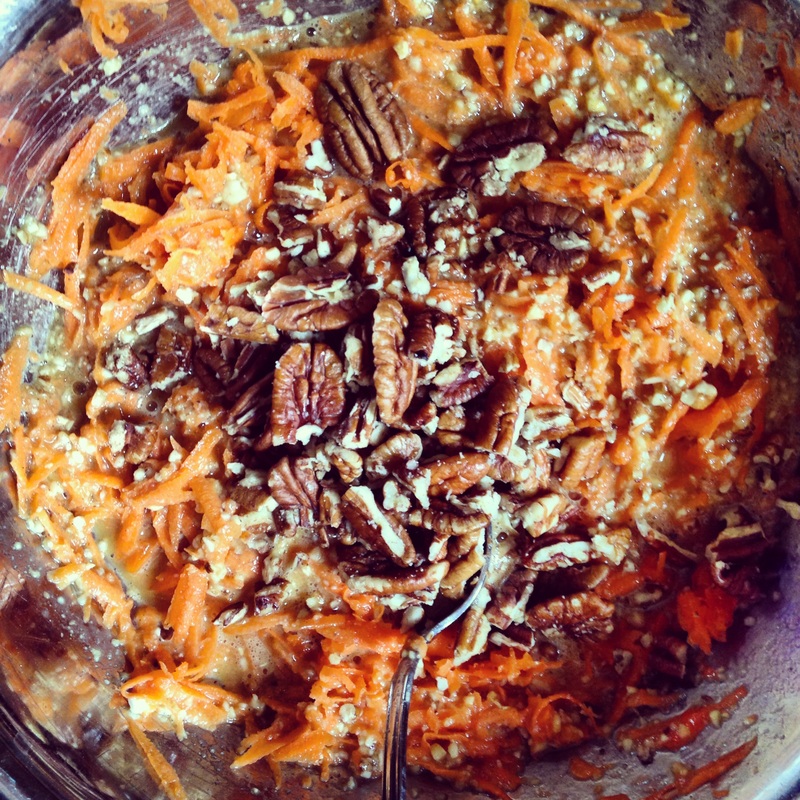
In a separate bowl add the coconut oil, honey and eggs. Beat together until everything is well combined. Add the wet ingredients to the dry ones and stir it all together. Lastly add the chopped pecans and grated carrot, give the mixture one last stir to incorporate all the ingredients together.
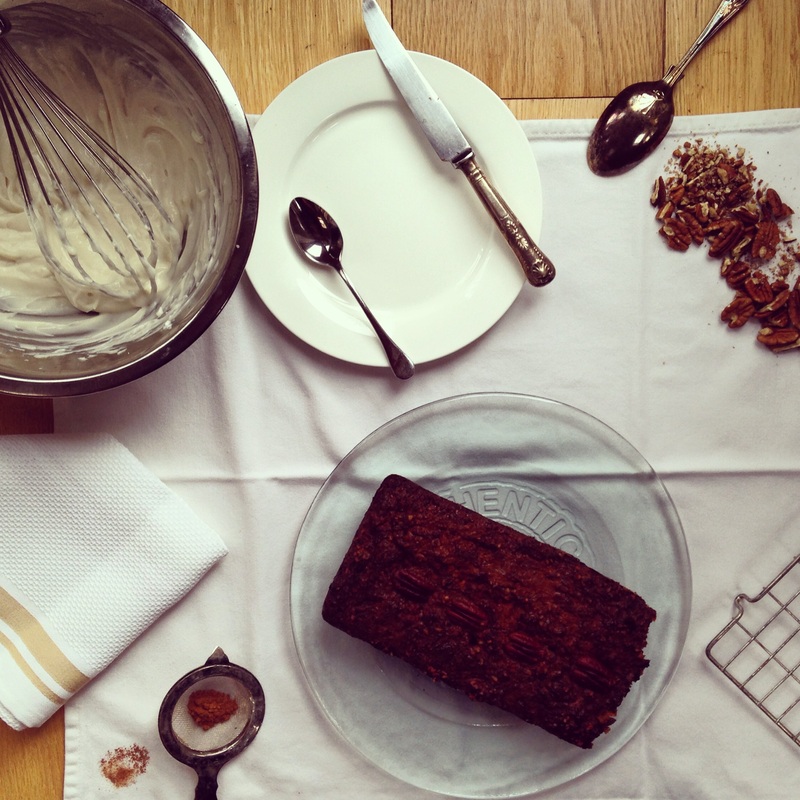
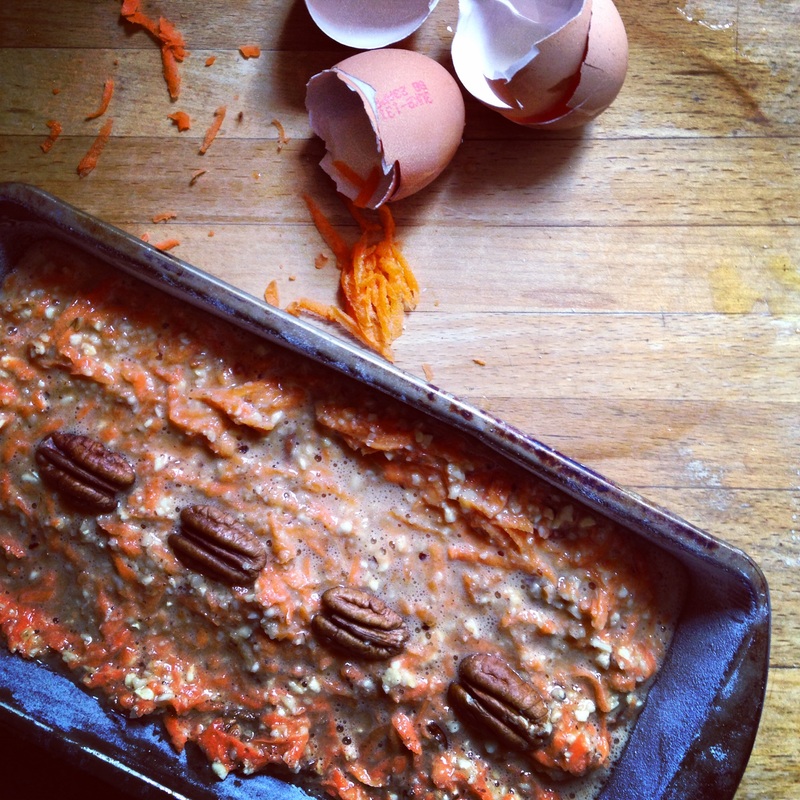
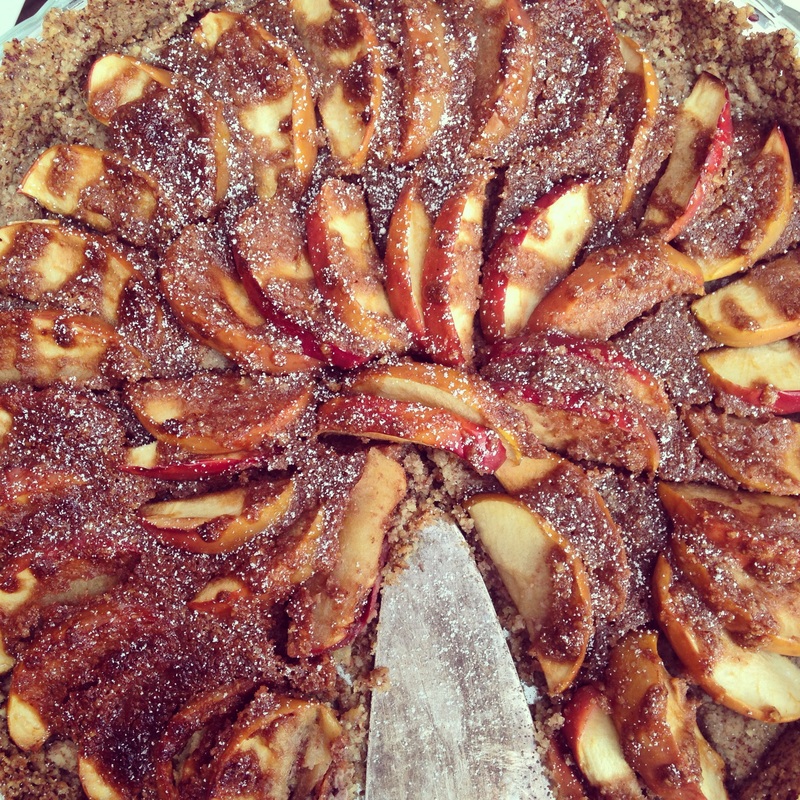
If you don't have baking paper(which I didn't) you can simply brush the baking tin with melted coconut oil and then line it with a sprinkle of the almond flour. Tap out any excess flour that is in the tin. I made my cake in a rectangle tin but what ever you want to use is entirely up to you.
Pour the batter into the prepared tin and pop in the oven for 50 minutes. Allow to cool completely before taking it out of the tin and applying the icing.
 |  |

To make the icing.
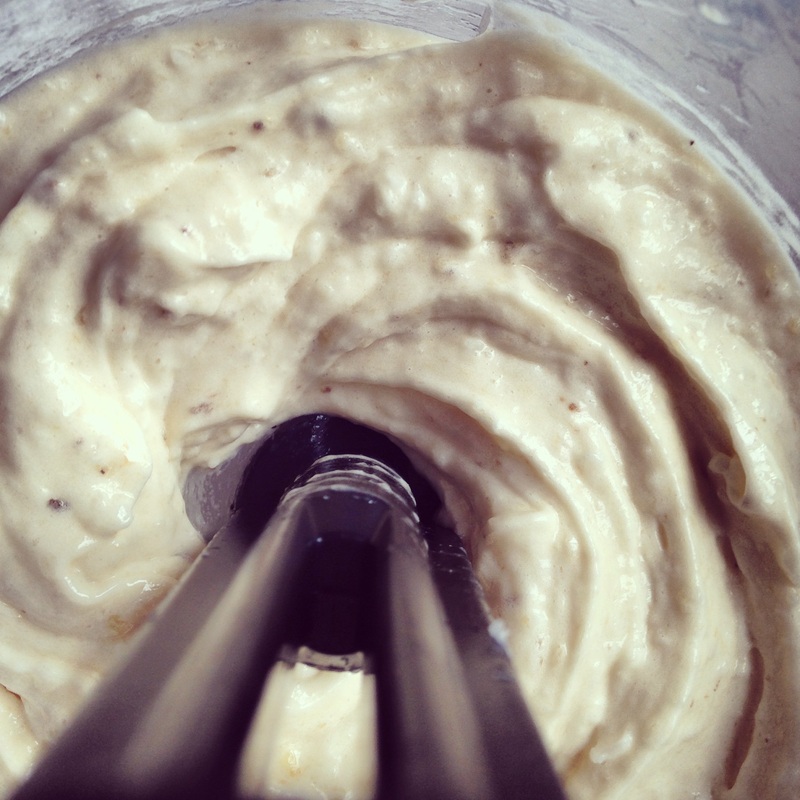
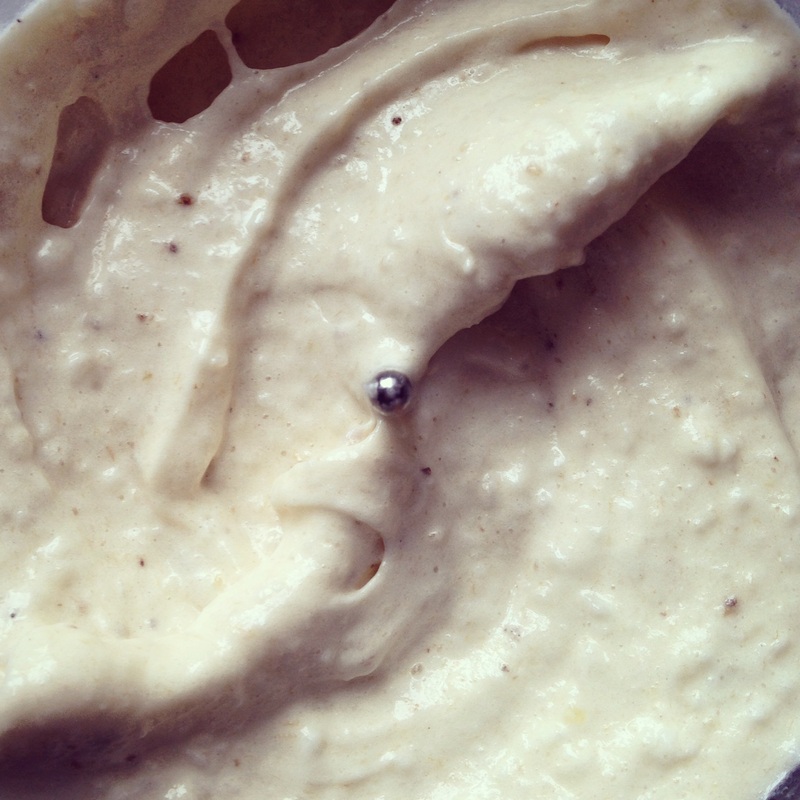
Add the coconut milk, honey, salt and vanilla extract into a saucepan over medium heat. Stirring consistently, bring to the boil.
Allow to boil for 2 minutes. While the coconut milk mixture is boiling prepare the thickening agent. In a small bowl, mix together the arrowroot powder and the water(this prevents any lumps from forming). Take the coconut milk off the heat and mix in the thickening agent. Melt the coconut oil and slowly whisk it in to the coconut milk mixture.
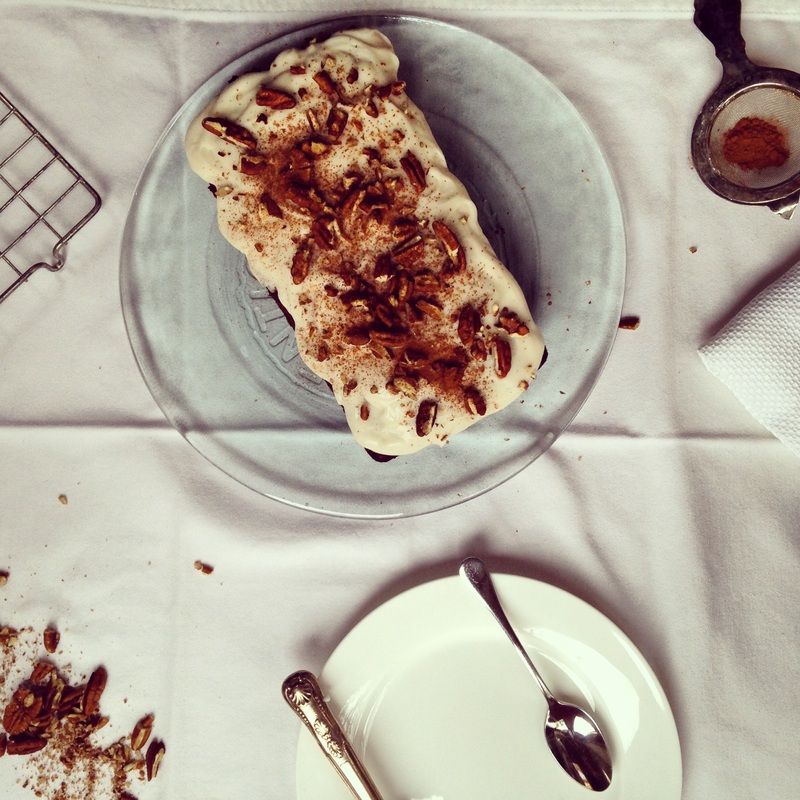
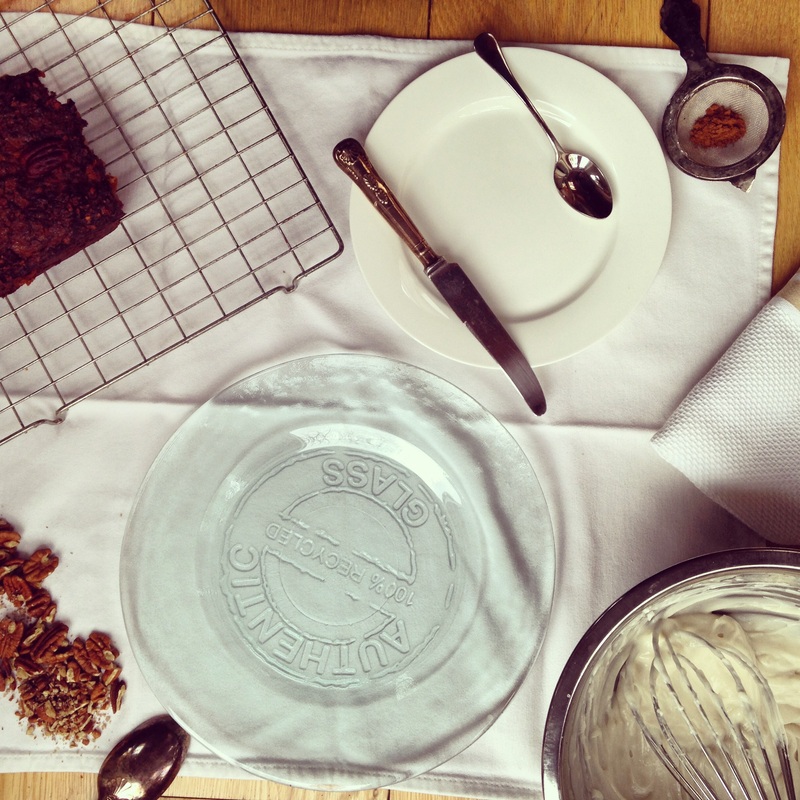
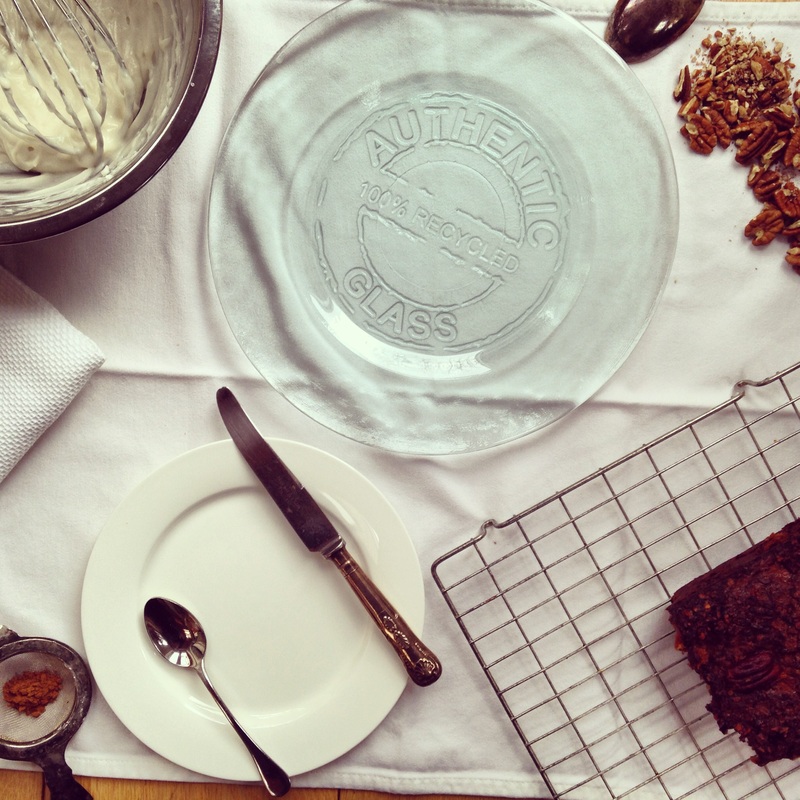
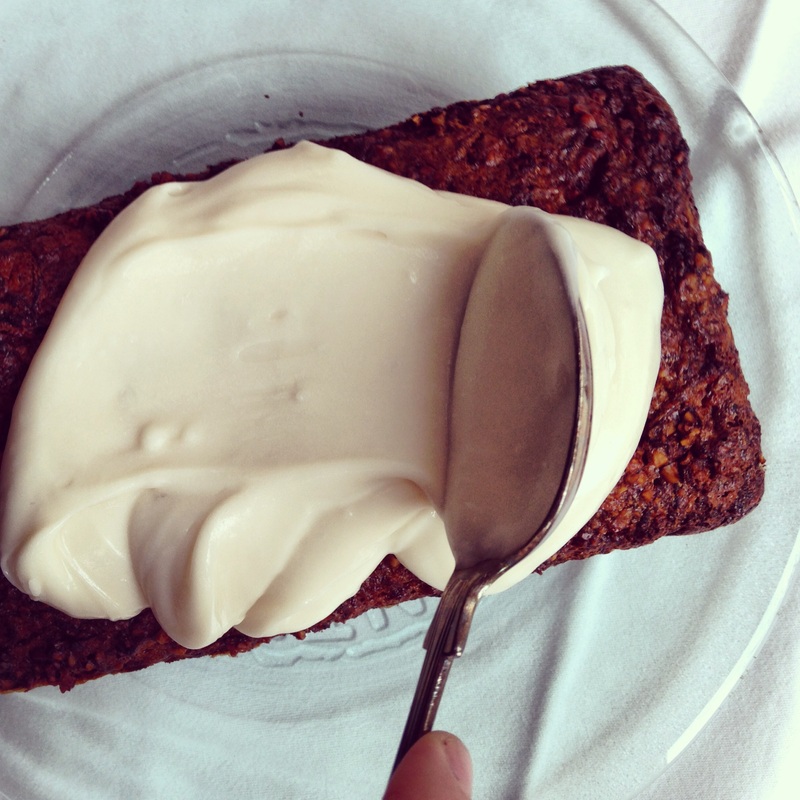
Allow this to cool in the fridge until it is completely chilled. Whisk it up again before icing the carrot cake.
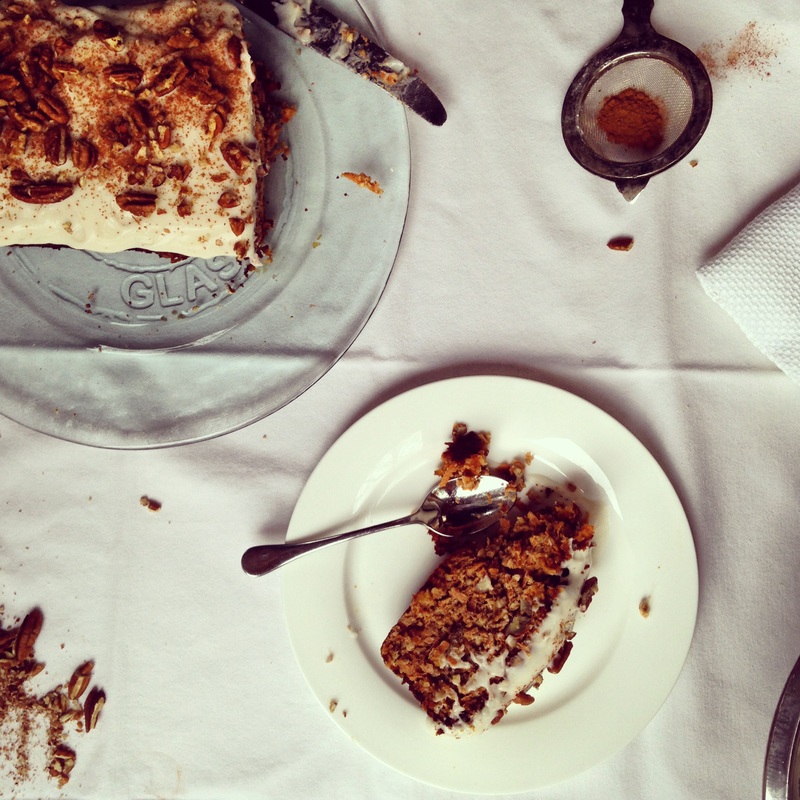
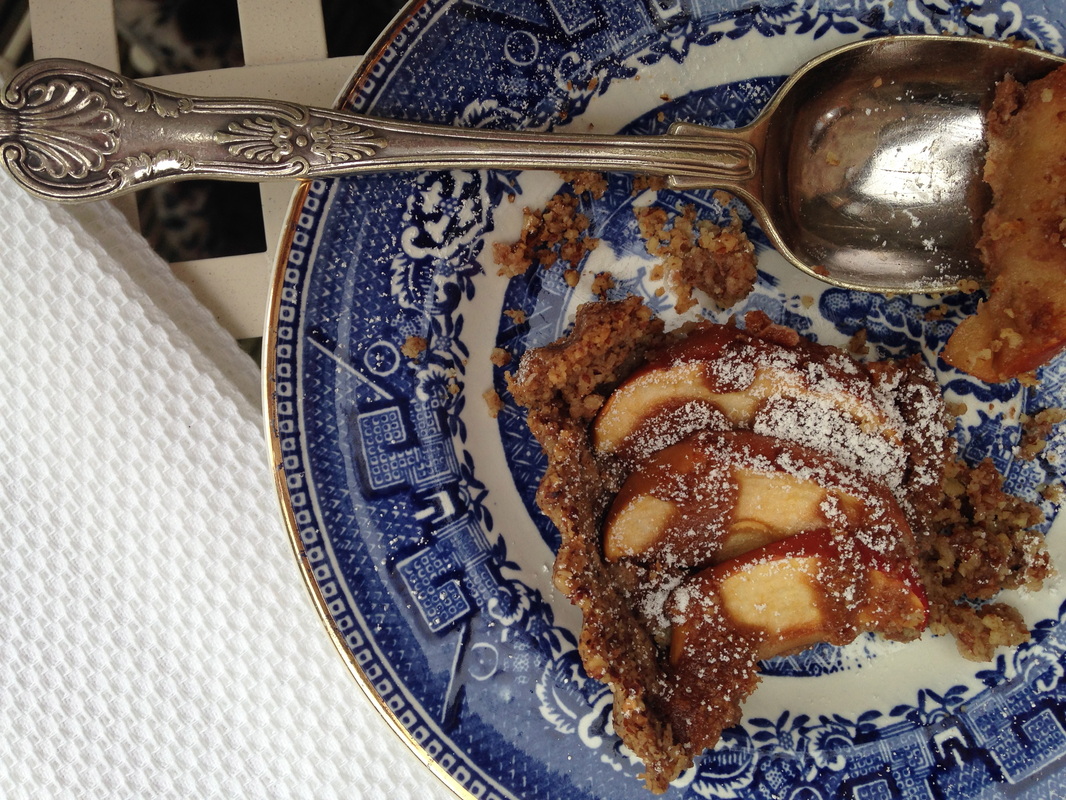
Et voila!
Thats it.
Enjoy!


 RSS Feed
